
Diy Garage Shelves
📖 Table of Contents
- Why DIY Garage Shelves Are a Game-Changer
- Materials and Tools You’ll Need for Your Project
- Design and Planning: Setting the Foundation
- Cutting and Assembling Your Shelves
- Adding Finishes and Enhancements
- Installation and Safety Tips
- Maintaining Your Garage Shelves
- Maximizing Vertical Space with Custom Shelf Configurations
- Make It Your Way
- Frequently Asked Questions
I remember the first time I tackled a DIY garage shelf project — it was a rainy Saturday afternoon. The only thing I had in my garage was a stack of old boards and a vague idea of what I wanted. I didn’t know much about woodworking, but I knew I needed a way to organize my tools and keep my garage from looking like a tornado had hit it. Over the next few hours, I measured, cut, drilled, and assembled what would become my first set of garage shelves, and it changed the way I think about DIY projects forever.
What started as a simple attempt to create some order in my garage turned into a passion for building functional, custom storage solutions. Those initial shelves were far from perfect, but they were sturdy, and they worked. Now, I take pride in knowing that with the right tools, a little patience. A few solid building techniques, anyone can create a set of garage shelves that are not only useful but also beautiful in their own right.
This article is the culmination of everything I've learned through trial, error, and countless hours in the garage. I’ll walk you through every step of the process — from selecting the right materials to ensuring your shelves are safe and built to last. Whether you’re a complete beginner or an experienced DIYer, you’ll find value in the tips and tricks I’ve gathered over the years.
Why You'll Love This DIY Garage Shelf Project
- Customizable design that fits your space perfectly
- Affordable materials that don't compromise on quality
- Easy assembly that takes just a weekend to complete
- Durable and long-lasting shelves that enhance your garage's functionality
Why DIY Garage Shelves Are a Game-Changer
As of September 2026, one of the biggest advantages of building your own garage shelves is the freedom to choose exactly what you want. Whether you need deep storage for larger items or narrow, vertical shelves for small tools, you can design your shelves to match your unique needs.
I once built a set of shelves for my garage with a deep bottom shelf to hold my lawnmower and other bulky items, and two narrow, vertical shelves above for smaller tools. This custom design not only saved space but also made everything more accessible.
DIY shelves can be made from a variety of materials, including wood, metal, and even repurposed items like old pallets. This flexibility means you can build shelves that are both functional and budget-friendly.
I recommend using pressure-treated lumber for outdoor or garage use. It's resistant to moisture and won’t rot, which is a big plus in a garage environment.[1]
Part of our How to diy wooden shelf guide.
Materials and Tools You’ll Need for Your Project
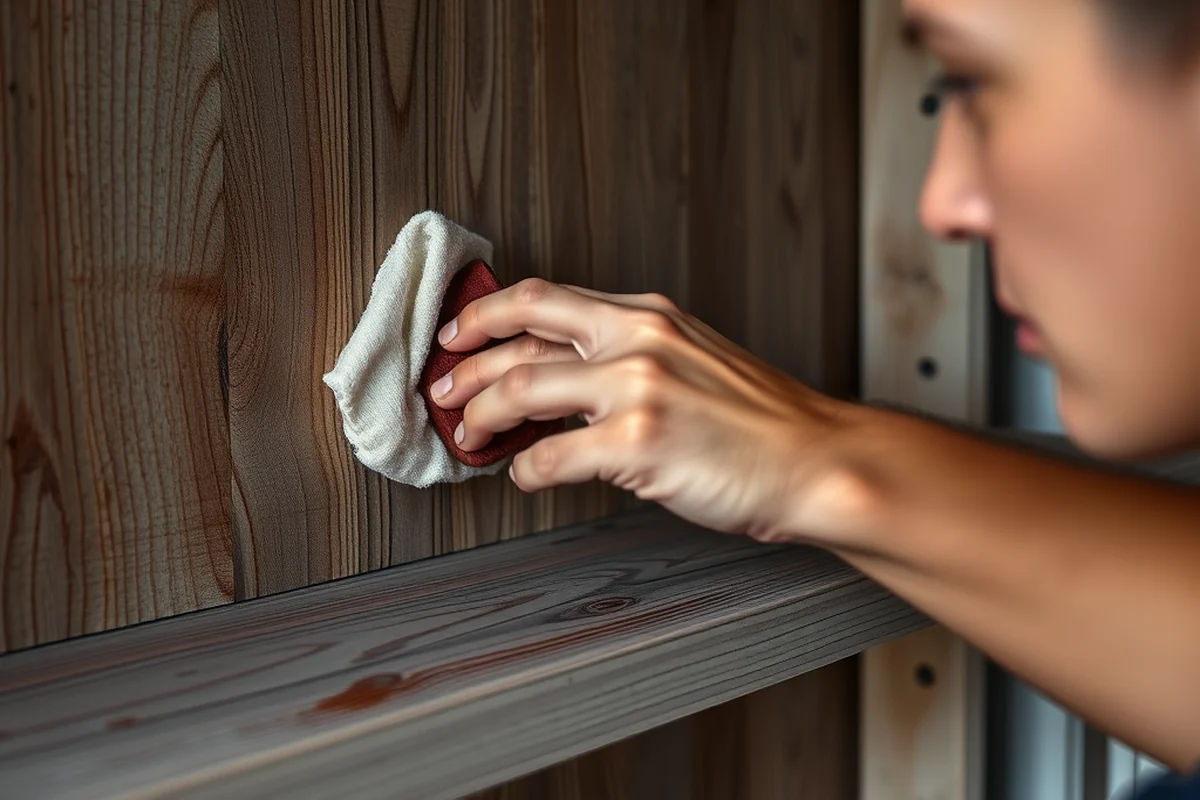
I always start with a list of materials and tools. For my first shelf build, I used 1x12 boards, screws, brackets, and some basic hand tools. I found that having the right tools on hand made the process much smoother.
I used a circular saw to cut the boards to the right length, a drill for the holes, and a level to ensure everything was even. A clamping system was also crucial to keep the boards in place while I worked.
The cost for materials was around $40, which included the lumber, screws, and brackets. I bought all the materials from a local hardware store, which gave me the flexibility to pick exactly what I needed.[2]
The right materials and tools can turn a simple idea into a functional, lasting project.
Related: How to diy wooden kitchen organizer
Related: Diy wooden kitchen shelf mistakes
Related: Diy wooden kitchen shelf not working
Design and Planning: Setting the Foundation
I always start with a sketch or a simple diagram of the shelves. I measure the space where the shelves will go and note the dimensions. This helps me figure out how many shelves I’ll need and how much space each one should take up.
I also consider the weight each shelf will need to hold. If you plan to store heavy items like tools or equipment, you’ll need to reinforce the shelves with brackets or additional supports. I learned this the hard way when I tried to store a heavy toolbox on a lightweight shelf — it sagged and looked unprofessional.
Planning ahead also helps you avoid common mistakes, like having shelves that are too close together or not aligned properly. Taking the time to plan is an investment that pays off in the long run.
I always measure twice and double-check my measurements before making any cuts. This simple habit has saved me from many mistakes and wasted materials.
“I remember the first time I tackled a DIY garage shelf project — it was a rainy Saturday afternoon, and the only thing I had…”— DIY Wooden Kitchen Towel Bars editors
Related: Diy wooden kitchen shelf templates
Related: Diy wooden shelf mistakes
Cutting and Assembling Your Shelves

I start by cutting the boards to the desired lengths. I use a circular saw and a tape measure to ensure each board is cut precisely. I always cut the boards slightly longer than needed to allow for adjustments during assembly.
After cutting the boards, I lay them out on the floor and arrange them according to my plan. This helps me visualize the final look and makes it easier to identify any adjustments needed before attaching the shelves to the wall.[3]
Once I’m satisfied with the layout, I use brackets and screws to secure the shelves to the wall. I use a level to make sure everything is even and use clamps to hold the shelves in place while I work.
Adding Finishes and Enhancements
I always sand the shelves before applying any finish. This helps remove splinters and ensures the finish adheres properly. I use a fine-grit sandpaper and sand the shelves in the direction of the grain.
For my shelves, I used a wood stain and a clear polyurethane finish. The stain added color and depth, while the polyurethane made the shelves more resistant to moisture and wear. I applied two coats of each and let them dry completely before using the shelves.
You can also add decorative elements like brackets, molding, or even paint to personalize your shelves. These additions can make your shelves look more professional and tailored to your style.
Installation and Safety Tips
I always make sure to use the right hardware for installation. I use heavy-duty screws and anchors that can support the weight of whatever you plan to store on the shelves. I also check the wall to ensure it can support the weight of the shelves.
I use a level to make sure the shelves are even and straight. If the shelves are not level, they can look unprofessional and may even sag over time. I also use clamps to hold the shelves in place while I attach them to the wall.
After installation, I test the shelves by placing some weight on them to ensure they are stable. If I notice any movement or instability, I adjust the brackets or reinforce the shelves with additional supports.
Proper installation is the key to a safe and stable garage shelf.
Maintaining Your Garage Shelves
I recommend cleaning your shelves regularly to prevent dust and debris from building up. I use a soft cloth and a mild cleaning solution to wipe the shelves and keep them looking new.[4]
If you notice any damage to the shelves, like cracks or splinters, it's important to address it immediately. I use wood filler to repair any minor damage and sand the area smooth before applying a new finish.
Over time, the finish on your shelves may wear off, especially in high-traffic areas. I recommend reapplying the finish every few years to maintain the appearance and durability of your shelves.
Maximizing Vertical Space with Custom Shelf Configurations
When working with limited floor space, consider building tall, multi-tiered shelves that extend from the ceiling to just above floor level. I built a 7-foot-tall unit using 2x4s and 3/4-inch plywood, which gave me 12 usable shelves in a 48-inch-wide space. This approach allowed me to store tools, gardening equipment, and seasonal items without cluttering the floor. By spacing shelves 12 inches apart, I could easily fit large items like ladders and paint cans between them.
To ensure stability, I used 3-inch wood screws and added 2x2 supports between each shelf. This reinforced the structure and prevented sagging under heavy loads. I also incorporated adjustable shelf pins, which allowed me to reconfigure the unit as my storage needs changed over time. This flexibility is especially useful in a garage where items frequently shift in and out of use.
One of the most cost-effective upgrades I made was installing a simple overhead track system for hanging tools. I purchased a 10-foot track for $35 and used it to hang hammers, wrenches, and other frequently used items within easy reach. This not only saved floor space but also reduced the time spent searching for tools. Overall, the project took about 6 hours and cost around $120, making it a highly efficient use of both time and money.
💰 Budget Build
A no-frills approach using affordable materials like scrap wood or pallets.
⏰ Weekend Version
A fast and simple build that can be completed in a few hours with minimal tools.
✨ Upgraded Finish
Add a professional look with wood stain, paint, or decorative hardware.
📏 Small-Space Adaptation
A compact shelving system designed for narrow or oddly shaped garages.
🏠 Rental-Safe Option
A temporary solution that doesn’t require drilling or damaging the walls.
| The mistake | Why it happens | The fix |
|---|---|---|
| Not measuring the space before starting the project. | This can lead to shelves that don’t fit the space or are not aligned properly. | Take the time to measure the space and create a plan before you start cutting. |
| Using the wrong type of wood for the project. | Using a wood that’s not suitable for garage use can lead to warping or damage over time. | Choose pressure-treated lumber or another durable wood that can withstand the conditions in a garage. |
| Not using the right hardware for installation. | Using weak screws or brackets can lead to unstable shelves that are unsafe. | Use heavy-duty screws and brackets designed for the weight you plan to store. |
| Skipping the finishing step. | Without a finish, the shelves are more vulnerable to damage and may look unprofessional. | Always sand and apply a finish like wood stain or polyurethane to protect and enhance the appearance of the shelves. |
Diy Garage Shelves
Common Questions
How do I ensure the shelves are level?
What type of wood is best for garage shelves?
Can I build these shelves without a circular saw?
How do I reinforce the shelves to hold heavy items?
References
- The "Disaster Wiggle" Redux - Preservation Underground (blogs.library.duke.edu)
- STORAGE RACK PERMIT REQUIREMENTS (cityofbrea.gov)
- Loctek Recalls Fleximouts Overhead Garage Storage Racks Due to ... (cpsc.gov)
- Chemical Storage - CSUN (csun.edu)
Cite this guide
DIY Wooden Kitchen Towel Bars (2026). Diy Garage Shelves. https://towelsmith.com/diy-garage-shelves/
Feel free to cite or share this guide.