
Wood Cutting Boards
📖 Table of Contents
I remember the first time I used a wood cutting board — it felt like a revelation. The way it absorbed the rhythm of my knife, the smoothness of its grain, the warmth of the wood in my hands. There was something deeply satisfying about it, a connection between the tool and the act of preparing food. And that's what makes wood cutting boards so special: they're not just functional, they're a part of the experience of cooking.
Wood cutting boards have been around for centuries, but in today's world of plastic and steel, they're making a quiet comeback. There's a reason for that. They're durable, they protect your knives, and they look great in any kitchen. I've tested countless options over the years — from maple to walnut — and I've learned what works and what doesn't. If you're thinking about making your own, I've got the tips and tricks to help you get started.
Crafting a wood cutting board isn't just about following a tutorial; it's about understanding the material, the process, and the care that goes into it. I spent a weekend cutting, sanding, and finishing a board from a piece of reclaimed oak, and the result was nothing short of beautiful. It's a project that's both simple and rewarding, and one that can be customized to match your kitchen's style and your own preferences.
Why You'll Love This DIY Project
- Customizable design to match your kitchen's aesthetic
- Durable and long-lasting when properly maintained
- Protects your knives from dulling and damage
- Adds a warm, natural element to your kitchen space
Choosing the Right Wood for Your Cutting Board
As of September 2026, not all woods are created equal, and some are better suited for cutting boards than others. Hardwoods like maple, walnut, and cherry are ideal because they're dense and resistant to knife marks and bacterial growth. I've found that maple, in particular, is a favorite among chefs for its durability and smooth grain.
Softwoods like pine or cedar may seem affordable, but they're not recommended for cutting boards. They're prone to splintering, warping, and absorbing odors from food. I learned this the hard way when I tried making a cutting board from cedar — it didn’t last long before it started to fall apart.[1]
If you're using reclaimed wood, be sure to check for any signs of mold or rot. I once used a piece of old barn wood and found some mildew spots that I had to sand out before I could even begin. Taking the time to select the right wood will make a huge difference in the final result.
Stick to dense hardwoods like maple or walnut. Avoid softwoods like cedar or pine for a board that will last.
Part of our Why diy wood ideas guide.
Measuring and Cutting the Wood
Start by deciding on the size of your cutting board. A standard size is around 16 inches by 24 inches, but you can customize it to fit your space. I've made smaller boards for countertops and larger ones for serving. Use a tape measure to mark the dimensions on the wood and then cut it with a circular saw or handsaw.[2]
To avoid splintering, I recommend using a sacrificial board — a piece of scrap wood — under the main board while cutting. This helps prevent the wood from tearing as you cut. I've found that using a fine-toothed blade also reduces the chances of splinters.
Once you've cut the wood to size, take a moment to inspect the edges. If you see any rough or uneven areas, use a belt sander or sanding block to smooth them out. This step will save you time later when you're applying the finish.
Measure twice, cut once — it's the first rule of any DIY project, and for good reason.
Related: The best wood filler
Related: Double wood supplements
Related: Wooden Cutting Boards
Related: Best Cutting Board Material
Related: Best Wood For Cutting Boards
Related: Bamboo Cutting Boards
Related: Glass Cutting Boards
Sanding for a Smooth Finish
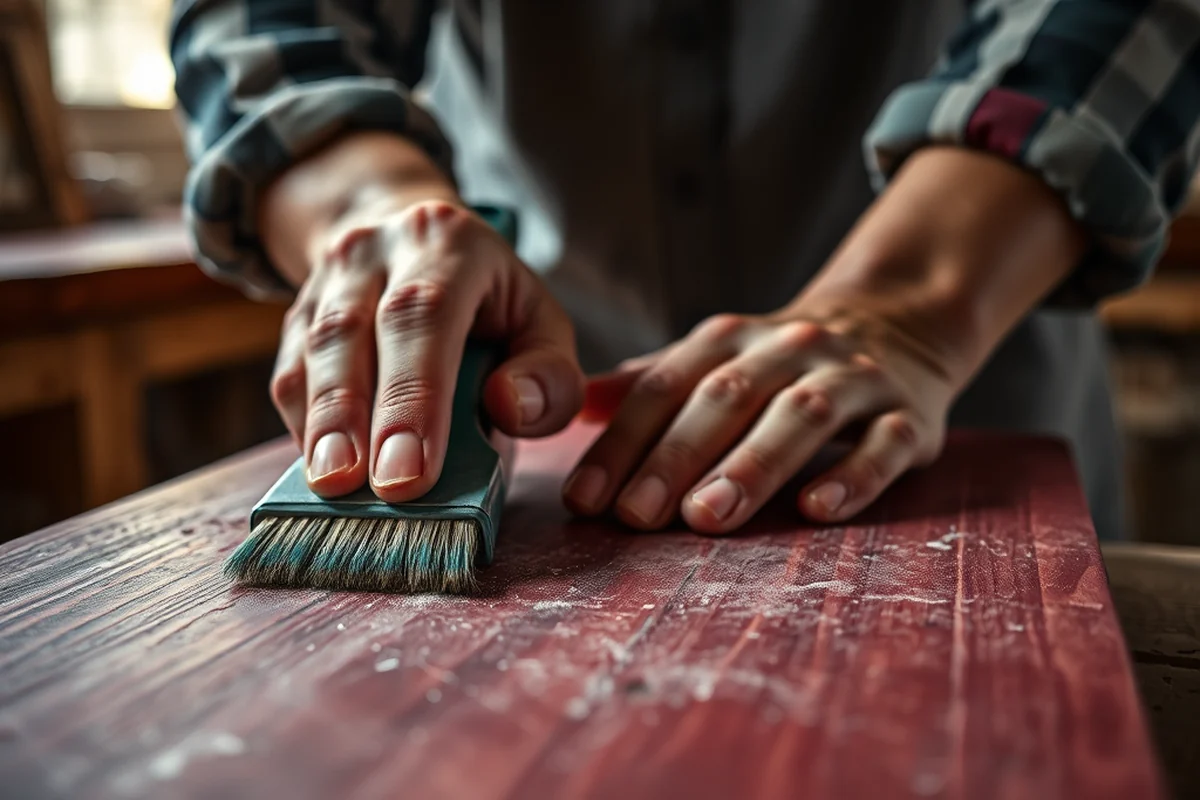
After cutting the wood, it's time to sand it down. I always start with a coarse grit, around 80-100, and work my way up to a finer grit, like 220. This helps remove any rough spots and creates a smooth surface for the finish.
I like to use a sanding block or orbital sander for even coverage. It's important to sand in the direction of the grain to avoid creating scratches or uneven areas. I've made the mistake of sanding against the grain before, and it left the board looking rough and uneven.
Once you've sanded the board, run your hand over the surface to check for any rough spots or inconsistencies. If you feel anything that stands out, sand it down further. A smooth surface will make the finish look better and make the board easier to clean later on.
Always sand in the direction of the wood grain to avoid creating scratches or uneven textures.
“I remember the first time I used a wood cutting board — it felt like a revelation.”— DIY Wooden Kitchen Towel Bars editors
Applying the Finish

After sanding, it's time to apply a finish. I've used a few different types over the years, but my favorite is food-safe mineral oil. It's affordable, easy to apply, and doesn't leave a chemical smell. Other options include beeswax or a water-based polyurethane, but I've found that mineral oil is the most effective for cutting boards.
To apply the oil, I use a clean cloth and work it into the wood in circular motions. I make sure to cover every surface, including the edges and the bottom of the board. It's important to let the oil sit for a few minutes before wiping off any excess. I usually apply it in thin layers and repeat the process a few times for a deep, even finish.
After applying the oil, I let the board sit overnight to allow the wood to absorb the finish completely. The next morning, I wipe off any excess oil and let it dry for a few hours. Once it's dry, I test it with a damp cloth to make sure it's water-resistant enough for use.
Finishing Touches and Installation
After the finish has dried, I like to add a few more layers of mineral oil to give the board a deep, rich look. I apply it sparingly and let each layer dry before applying the next one. This helps create a more even and polished surface that's easier to maintain over time.
For a more decorative look, I've experimented with adding inlays or carving patterns into the board. It's a bit more advanced, but I've found that it adds a unique touch to the finished piece. I used a small chisel and some guide lines to create a simple design that fits the board's style.
Once the board is fully finished, I take a moment to clean it with a soft cloth and let it dry completely. I also make sure to test it with a few different knives to see how it performs. A well-finished board should feel smooth and comfortable in the hand, and it should protect the knife edges without causing any damage.
Maintaining Your Wood Cutting Board
Even the best cutting boards require regular care to keep them in top condition. I like to clean my board with a mild soap and warm water after each use. I avoid using harsh chemicals or dish soap, as they can strip the finish and dry out the wood.
After cleaning, I always dry the board immediately to prevent water from sitting on the surface. I've found that leaving a board wet for too long can lead to warping or mold growth, especially in humid environments. To help with this, I sometimes apply a thin layer of mineral oil after each use to keep the wood moisturized.
Over time, the finish may wear off, especially in high-traffic areas like the center of the board. I've noticed that the edges tend to wear faster, so I like to reapply the oil every few months to keep the board looking new. A little maintenance goes a long way in extending the life of your cutting board.
A little maintenance keeps your wood cutting board looking great and lasting for years.
Customizing Your Cutting Board
One of the best things about making your own wood cutting board is the ability to customize it. I've experimented with adding inlays, carvings, and even engravings to make each board one-of-a-kind. These details not only add visual interest but also make the board more personal.
If you're not a skilled woodworker, you can still add simple decorations like a border or a pattern using a stencil and woodburning tool. I've found that this is a great way to create a unique design without requiring advanced skills. Just make sure to test the tool on a small piece of wood first to see how it works.
Another option is to paint the edges of the board in a contrasting color. I've used a food-safe wood stain to create a bold border that stands out against the natural wood grain. This is a simple way to add a decorative touch without overcomplicating the design.
💰 Budget Build
Use a single piece of hardwood and a simple mineral oil finish to keep costs low while still achieving a quality result.
⏰ Weekend Version
Complete the project in a single day with pre-cut wood and a quick oil finish that dries in under an hour.
✨ Upgraded Finish
Add a layer of food-safe polyurethane for a more durable and glossy finish that resists moisture and wear.
🏠 Small-Space Adaptation
Create a compact cutting board that's ideal for small kitchens or use as a countertop organizer with built-in slots.
🧳 Rental-Safe Option
Make a lightweight board that's easy to move and store, perfect for temporary kitchens or rental properties.
| The mistake | Why it happens | The fix |
|---|---|---|
| Using softwood like pine or cedar | These woods are prone to splintering and warping, making them unsuitable for cutting boards. | Stick to dense hardwoods like maple or walnut for a durable and long-lasting cutting board. |
| Not sanding with the grain | Sanding against the grain can create scratches and an uneven surface that's hard to finish properly. | Always sand in the direction of the wood grain for a smooth, even finish. |
| Applying too much oil at once | Excess oil can leave a greasy residue and make the board slippery or difficult to clean. | Apply the oil in thin, even layers and wipe off any excess before it has a chance to pool or dry unevenly. |
| Neglecting to maintain the board regularly | A lack of maintenance can cause the wood to dry out, crack, or warp over time. | Wipe the board clean after each use, dry it thoroughly, and apply a thin layer of mineral oil every few months to keep it looking great. |
Wood Cutting Boards
Common Questions
What type of wood is best for a cutting board?
Can I use a softwood like pine for a cutting board?
How do I keep my wood cutting board from warping?
How often should I reapply the finish on my cutting board?
References
- Prairie Fare: Say Goodbye to Old Cutting Boards - NDSU Agriculture (ag.ndsu.edu)
- Cutting board - Wikipedia (en.wikipedia.org)
Cite this guide
DIY Wooden Kitchen Towel Bars (2026). Wood Cutting Boards. https://towelsmith.com/wood-cutting-boards/
Feel free to cite or share this guide.