
Diy Wooden Paper Towel Holder
📖 Table of Contents
I remember the first time I stood in my kitchen, staring at a paper towel roll that had slipped off the counter and landed in a puddle of water. It was a small moment, but it sparked a bigger realization — my kitchen wasn’t organized, and I needed a simple, functional solution. That’s when I decided to build my own DIY wooden paper towel holder. It wasn’t just about keeping my paper towels in place; it was about adding a personal touch to a space that had been neglected for too long.[3]
Building a DIY wooden paper towel holder was one of the most satisfying DIY projects I’ve ever done. It wasn’t complicated, but it required careful planning and attention to detail. I used scrap wood from a previous project, which was a small but important way to keep costs low. The result was a sturdy, elegant addition to my kitchen that I still use every day. It’s a project that anyone with basic tools and a few hours can tackle.[4]
Since that first build, I’ve refined my approach and even shared it with friends who wanted a similar solution. The DIY wooden paper towel holder isn’t just a practical item; it’s a way to express personality and creativity in your home. Whether you want to match your kitchen’s decor or create a unique statement piece, this project can be tailored to fit your style and needs.
Why You'll Love This DIY Wooden Paper Towel Holder
- A customizable design that complements any kitchen style
- A budget-friendly alternative to store-bought options
- A satisfying DIY project that adds value to your home
- A durable solution that lasts for years with proper care
Choosing the Right Materials and Tools
As of September 2026, for a DIY wooden paper towel holder, I recommend using 1x2 or 1x3 pine lumber. Pine is affordable, easy to work with, and has a warm, natural look that complements most kitchens. I also used a few basic tools: a miter saw, a drill, a screwdriver, and sandpaper. These tools are essential for cutting, assembling, and finishing the project.[1]
When choosing wood, I made sure to select pieces that were straight and free of knots. Knots can weaken the structure and make drilling more difficult. I also measured the width of my paper towels to ensure the roll would fit snugly. This step saved me time later, as I didn’t have to adjust the dimensions of the holder.
I found that using a wood finish like polyurethane or wood stain adds both durability and style. I used a brush-on polyurethane, which was easy to apply and gave the holder a smooth, professional look. It’s important to let the finish dry completely before mounting the holder on the wall.
Always choose wood that is strong and has minimal knots. Pine is a great choice for this project, but if you have access to hardwood like oak, it will add more durability.
Part of our Diy wooden paper towel holder comparison guide.
Measuring and Marking the Wood
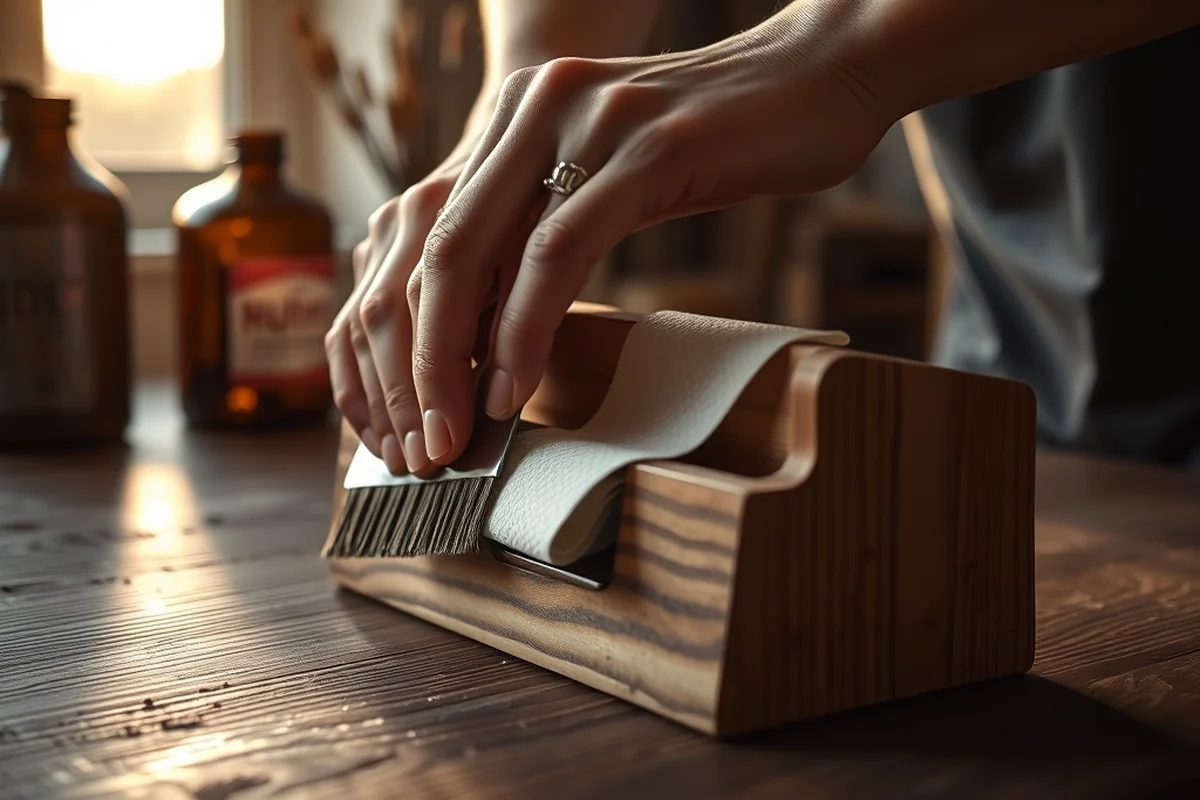
I started by measuring the height of my kitchen cabinet and then subtracting about 2 inches so the holder would be at a comfortable height for reaching. I marked this measurement on the wood using a pencil and a measuring tape, making sure the marks were clear and visible.
I also measured the width of the paper towel roll and used that to determine the length of the horizontal piece that would hold the roll. I added a few extra inches on each side to allow for some overhang, which made it easier to insert and remove the roll.
After marking the wood, I used a square to ensure the corners were at 90-degree angles. This step helped me avoid any crooked or uneven cuts later on. Once I was satisfied with the measurements and marks, I was ready to cut the wood.[2]
Measure twice, cut once — this mantra saved me from wasted wood and frustration.
Related: Top diy wooden paper towel holder
Related: Diy wooden kitchen set comparison
Related: Diy kitchens wooden kitchen comparison
Related: Diy wooden kitchen organizer comparison
Cutting and Shaping the Wood
Using a miter saw, I carefully cut the wood pieces to the measurements I had marked earlier. I made sure to hold the wood securely and align the blade with the cut line to avoid any mistakes. I found that cutting the pieces in a well-ventilated area helped reduce the amount of dust in the air.
After cutting, I used a sanding block to smooth out any rough edges or splinters. This step was important for both comfort and aesthetics. I also used a square to check the angles of the pieces again, ensuring they were straight and aligned properly.
I noticed that using a clamp helped me keep the pieces in place while I worked. This made the process much more efficient and reduced the risk of slipping or misalignment. Once I was satisfied with the shape and size of the pieces, I was ready to move on to the next step.
Sanding after cutting removes splinters and rough edges, making the wood easier to work with and safer to handle. It also improves the final appearance of the project.
“I remember the first time I stood in my kitchen, staring at a paper towel roll that had slipped off the counter and landed in…”— DIY Wooden Kitchen Towel Bars editors
Related: Diy wooden kitchen comparison
Assembling the Holder
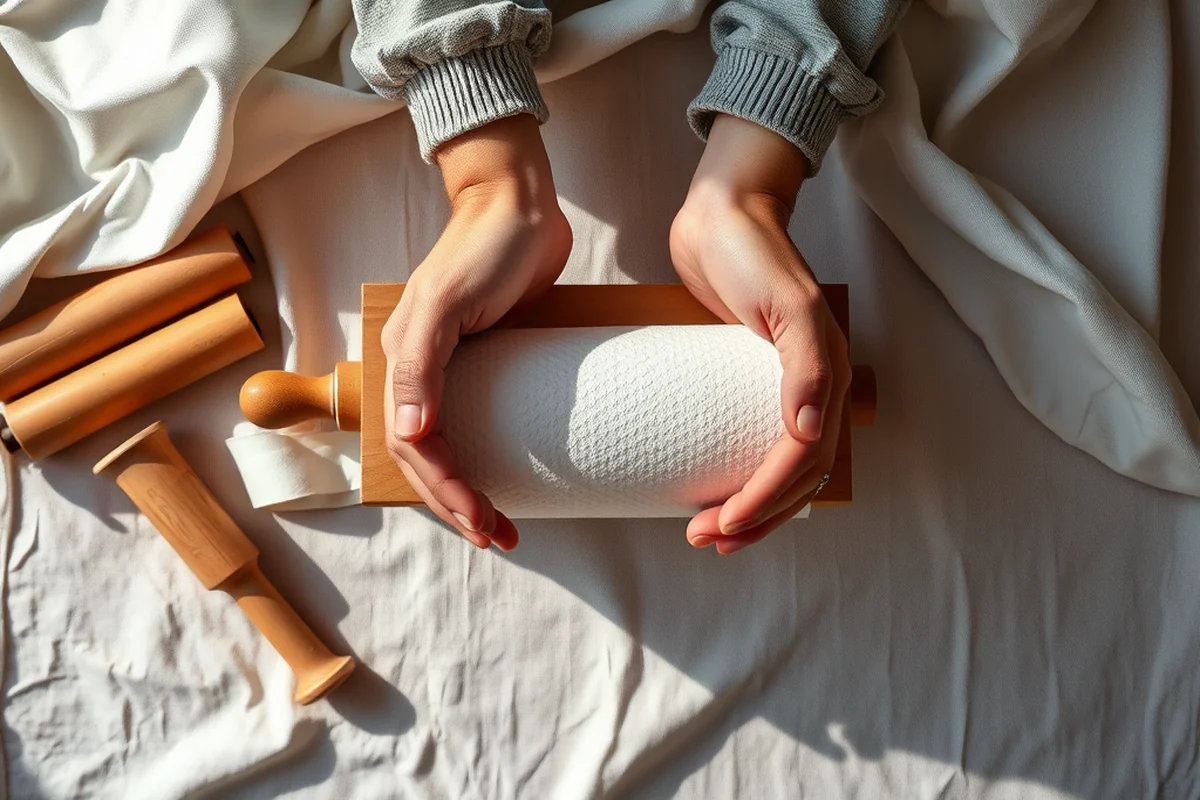
I started by drilling pilot holes in the corners of the pieces where they would be joined. This helped prevent the wood from splitting when I inserted the screws. I used a drill bit that was slightly smaller than the screws I planned to use.
Once the pilot holes were drilled, I used a screwdriver to secure the pieces together. I made sure to apply even pressure and avoid over-tightening the screws, which could cause the wood to crack. I also checked the alignment of the pieces to ensure the structure was square.
I found that using clamps during assembly helped me keep the pieces in place while the screws were being inserted. This made the process much smoother and prevented the pieces from shifting. Once the assembly was complete, I moved on to the finishing touches.
Finishing the Holder
After assembling the holder, I applied a coat of wood stain to give it color and enhance the grain of the wood. I used a brush to apply the stain evenly and let it dry for a few hours before moving on to the next step.
Next, I applied a few coats of polyurethane to protect the wood from moisture and wear. I used a brush-on finish, which was easy to apply and gave the holder a smooth, professional look. I let each coat dry completely before applying the next one.
I found that using a wood finish not only protected the wood but also made it easier to clean later. I also added a small label to the back of the holder with the date and my name, which helped me keep track of my projects over time.
Mounting the Holder on the Wall
I used a level to mark where the holder would be mounted on the wall, making sure it was straight and aligned with the surrounding cabinets. I drilled pilot holes in the wall where the screws would go, being careful not to hit any wires or pipes.
After inserting the screws into the wall, I attached the holder using screws and washers to ensure it was secure. I made sure to tighten the screws enough to hold the holder in place but not so much that the wood cracked.
I found that using a small amount of wood glue on the back of the holder before attaching it to the wall added an extra layer of security. This helped prevent the holder from shifting or becoming loose over time.
A well-mounted holder is the difference between a functional project and a forgotten one.
Adding a Personal Touch
After finishing the holder, I added a small wooden plaque to the back, which I engraved with my initials. This was a simple but meaningful addition that made the project feel more personal and customized.
I also used a small amount of wood burning to create a decorative pattern on the back of the holder. This technique not only added visual interest but also gave the project a handcrafted feel.
I found that using paint or decorative hardware, like brass screws, was another way to add style. These small details made a big difference in the overall look of the project and helped it stand out in my kitchen.
💰 Budget Build
Use salvaged wood and basic tools to create a low-cost holder that still looks great.
⏰ Weekend Version
A quick and easy project that can be completed in a single day with minimal effort.
✨ Upgraded Finish
Add a premium wood finish and hardware to give your holder a high-end look.
📏 Small-Space Adaptation
Create a compact version of the holder that’s perfect for small kitchens or apartments.
🏠 Rental-Safe Option
Use removable adhesive or avoid drilling to make the holder easy to take down when moving.
| The mistake | Why it happens | The fix |
|---|---|---|
| Using wood with knots or splinters | Wood with knots or splinters can weaken the structure and make drilling more difficult. | Select straight pieces of wood with minimal knots and sand them down before use. |
| Not measuring the paper towel roll correctly | If the measurements are off, the holder may not fit the roll properly, making it difficult to insert or remove. | Measure the paper towel roll accurately and add a few extra inches to allow for overhang. |
| Over-tightening the screws | Over-tightening the screws can cause the wood to crack or split, especially in softer woods like pine. | Use even pressure when tightening the screws and avoid over-tightening. |
| Skipping the sanding step | Skipping the sanding step can leave rough edges and splinters, which can be uncomfortable and unsightly. | Always sand the wood after cutting to remove any rough edges or splinters. |
Diy Wooden Paper Towel Holder
Common Questions
What type of wood should I use for the DIY wooden paper towel holder?
How long does it take to build this project?
What tools do I need for this project?
Can I paint the holder instead of staining it?
References
- Board of Cosmetology (Amendment) 201 KAR 12:100. Infection ... (apps.legislature.ky.gov)
- Yale University Art Gallery Bulletin 2015 (artgallery.yale.edu)
- Rankings — The Atlas of Economic Complexity (atlas.hks.harvard.edu)
- Improving Handwashing Stations – UVM Extension Ag Engineering (blog.uvm.edu)
Cite this guide
DIY Wooden Kitchen Towel Bars (2026). Diy Wooden Paper Towel Holder. https://towelsmith.com/diy-wooden-paper-towel-holder/
Feel free to cite or share this guide.