
Bamboo Cutting Boards
📖 Table of Contents
I remember the first time I used a bamboo cutting board in my kitchen. It wasn’t just the smooth surface or the natural grain that caught my attention—it was the way it felt in my hands, solid yet gentle on my knives. After years of using plastic boards that warped and splintered, I found myself drawn to the durability and beauty of bamboo. Since then, I've built several DIY bamboo cutting boards, each one offering a unique blend of function and style that transformed my kitchen into a more inviting space.
There’s something satisfying about crafting your own bamboo cutting board. It’s not just about saving money; it’s about taking pride in creating something that enhances your daily life. I’ve learned that bamboo is not only eco-friendly but also incredibly resilient. It can withstand the sharpness of knives without the need for frequent replacements, which makes it a sustainable choice for any kitchen. Plus, it adds a rustic charm that no store-bought board could match.
When I first started experimenting with bamboo cutting boards, I underestimated how much time and care each step required. From selecting the right bamboo planks to sanding and finishing the final product, every detail matters. I’ve made mistakes, like not sealing the edges properly, which led to water absorption and eventual warping. But each misstep taught me something valuable. Now, I walk into my kitchen with the confidence that my handmade bamboo cutting board is not only a functional tool but a piece of furniture that reflects my values and craftsmanship.
Why You'll Love This DIY Project
- Eco-friendly and sustainable material that reduces plastic waste
- Durable and long-lasting, ideal for frequent use in the kitchen
- Adds a natural, rustic aesthetic to any kitchen space
- Customizable and affordable, offering personalization and cost savings
Choosing the Right Bamboo Planks
As of September 2026, I recommend sourcing bamboo from a local hardware store or a specialty wood supplier. Look for planks that are at least 1.5 inches thick and 12 inches wide. I’ve found that quarter-sawn bamboo planks are more stable and less prone to warping, which is essential for a cutting board that will be used daily.[1]
Avoid planks that show signs of cracks or splits. I once used a board with a small split and it eventually cracked further under pressure, leading to a failed project. Always inspect the grain direction to ensure it’s flat and smooth, as this will affect the final appearance and usability of the board.
If possible, choose bamboo that has been pre-treated or kiln-dried. This reduces the risk of warping and makes the finishing process much easier. I’ve found that untreated bamboo can absorb moisture and swell if not properly sealed, which can compromise its structure and longevity.
Look for planks that are at least 1.5 inches thick and have a flat, even grain. Avoid planks with cracks or splits that could compromise the board’s integrity.
Part of our Diy wooden ideas for beginners guide.
Cutting and Shaping the Board
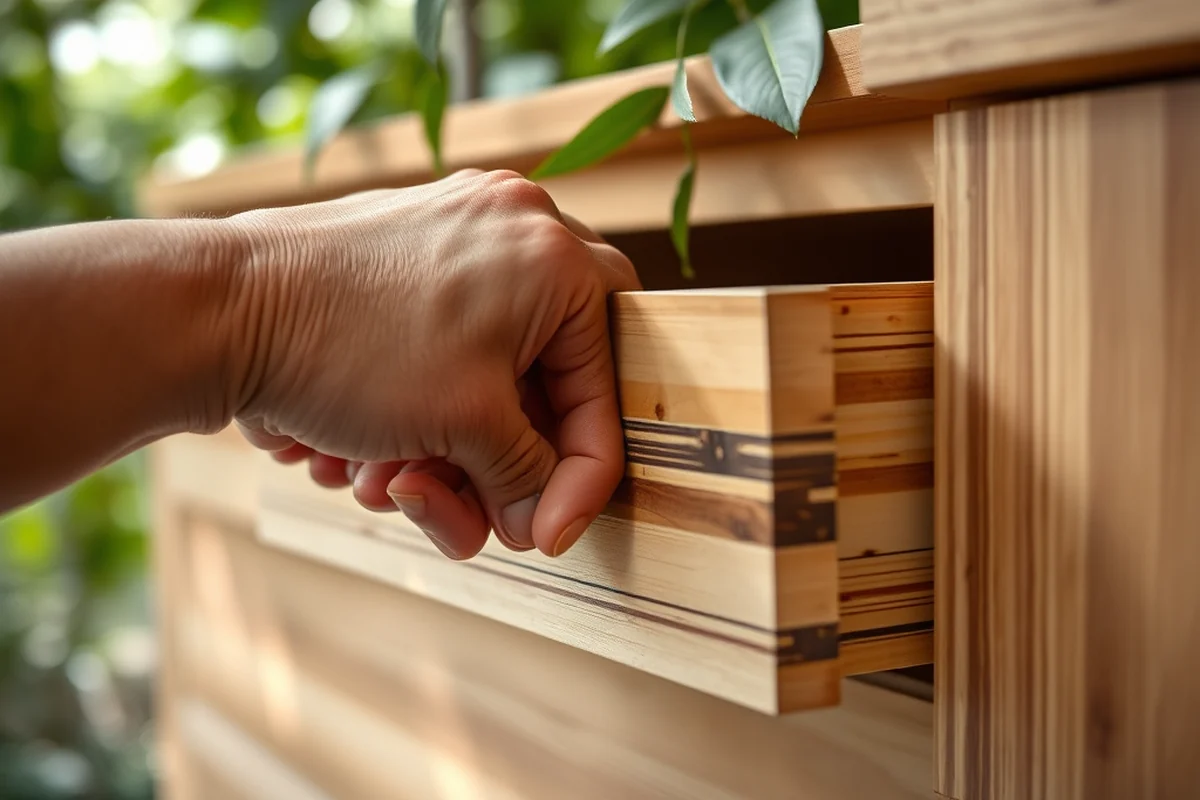
I use a circular saw to cut the planks to the desired dimensions. For a standard cutting board, I aim for a size of about 12 inches by 18 inches. I always mark the dimensions on the planks with a pencil and a measuring tape to ensure accuracy.[2]
After cutting, I use a table saw to trim the edges and create a smooth, even surface. This step is crucial because any rough edges can cause splinters or damage the surface of the board. I’ve noticed that taking extra time here reduces the need for excessive sanding later on.
Once the board is cut, I use a hand plane to smooth out any uneven areas. This gives the board a more refined look and ensures that it is comfortable to use. I’ve found that this step is especially important if the board is going to be used for cutting vegetables or other delicate items.
Precision in cutting ensures a smooth and functional final product.
Related: What is best wood cutting board
Sanding and Smoothing the Surface
I start with 80-grit sandpaper and work my way up to 220-grit. This process removes any rough spots and ensures a smooth surface. I always sand in the direction of the grain to avoid creating scratches that could catch on knives.[3]
After sanding, I use a hand sander with a fine grit sanding pad to get an even smoother finish. This step takes time but is worth it. I’ve noticed that boards that are not sanded properly can cause knives to dull more quickly, which defeats the purpose of a cutting board.
Finally, I run my hand over the surface of the board to check for any rough spots. I’ve found that this tactile check is more effective than visual inspection in identifying imperfections that need further sanding.
Always sand in the direction of the grain to avoid creating scratches that could catch on knives or damage the board’s surface.
“I remember the first time I used a bamboo cutting board in my kitchen.”— DIY Wooden Kitchen Towel Bars editors
Related: Best cutting boards
Sealing and Finishing the Board
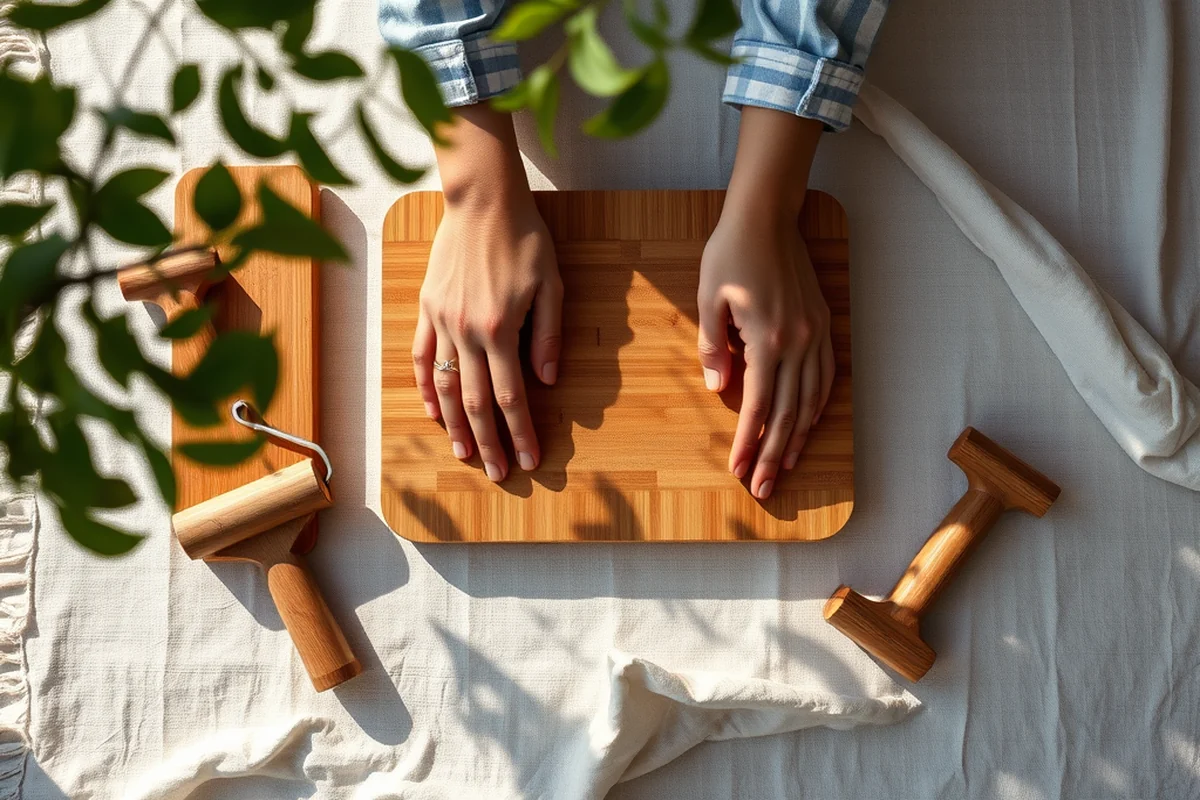
I use a food-safe mineral oil to seal the board. This oil penetrates the wood and helps to prevent moisture absorption. I apply a thin layer with a clean cloth and let it sit for about 15 minutes before wiping off any excess.[4]
After the first coat of oil, I repeat the process two more times to ensure full coverage. I’ve found that three coats of oil provide the best protection and maintain the natural look of the bamboo.
Once the oil has been fully absorbed, I allow the board to dry for at least 24 hours. This gives the oil time to set and form a protective layer. I’ve noticed that skipping this step can lead to the board absorbing water and warping over time.
Related: Wooden boat model kits
Adding a Unique Design or Edge Treatment
I’ve experimented with different edge treatments, including rounded edges and beveled edges. Rounded edges are more comfortable for use and reduce the risk of splinters. Beveled edges give the board a more refined look and can be used to create a slight elevation for the cutting surface.
For a more personalized touch, I’ve used a router to create decorative patterns along the edges. This is a great way to add a unique design element without compromising the functionality of the board. I’ve found that using a router with a decorative bit can add a lot of character to the board.
I’ve also tried staining the board with a natural wood stain to enhance the color of the bamboo. This adds a layer of protection while giving the board a more finished appearance. I always use a clear sealant after staining to ensure the color remains vibrant over time.
Related: Diy guitar kit
Testing and Using Your Finished Board
I like to test the board by cutting a few different vegetables to see how it performs. I’ve found that a well-finished board is smooth and comfortable to use, with no splinters or rough spots. I also check for any warping or swelling that might have occurred during the finishing process.
After using the board for a few days, I clean it with warm, soapy water and dry it thoroughly. I’ve noticed that leaving it damp can lead to mold growth and warping, so I always make sure to dry it completely after each use.
Over time, I’ve found that the board maintains its shape and appearance even with frequent use. This durability is one of the main reasons I prefer bamboo over other materials. I’ve also found that the natural grain of the bamboo adds a unique aesthetic to my kitchen that I love.
A well-finished bamboo cutting board stands the test of time and use.
Related: Top diy wooden kitchen ideas
Maintaining and Caring for Your Board
I recommend oiling the board every few months to maintain its protective layer and keep it looking its best. I’ve found that using a food-safe mineral oil every 3 to 4 months helps to prevent cracking and warping.
It’s also important to avoid soaking the board in water or leaving it submerged for long periods. I’ve learned that this can cause the wood to swell and eventually crack. Instead, I always wipe it down with a damp cloth and dry it immediately.
If the board becomes dirty, I use a mild soap and water solution to clean it. I avoid using harsh chemicals or abrasive cleaners, as these can damage the finish. I’ve found that a little bit of care goes a long way in keeping the board in excellent condition for years.
💰 Budget Build
Create a simple bamboo cutting board using affordable materials and basic tools, perfect for those on a tight budget.
⏳ Weekend Version
A quick and easy project that can be completed in a single weekend, ideal for beginners with limited time.
✨ Upgraded Finish
Enhance your cutting board with a high-quality finish and decorative elements for a more refined and elegant look.
🏠 Small-Space Adaptation
Design a compact bamboo cutting board that’s perfect for small kitchens or apartments with limited counter space.
🧳 Rental-Safe Option
Build a portable bamboo cutting board that’s easy to disassemble and transport, ideal for renters or those moving frequently.
| The mistake | Why it happens | The fix |
|---|---|---|
| Not sealing the edges properly | Leaving the edges unsealed allows moisture to seep in, leading to warping and cracking over time. | Always apply a food-safe mineral oil to all edges and let it absorb fully before using the board. |
| Using the wrong type of sandpaper | Using sandpaper that’s too coarse can damage the wood and create splinters, while sandpaper that’s too fine may not remove rough spots effectively. | Start with 80-grit sandpaper and work up to 220-grit. Always sand in the direction of the grain for best results. |
| Not allowing the board to dry completely after oiling | Leaving the board damp after oiling can lead to mold growth and warping, which can compromise the integrity of the board. | Always allow the board to dry for at least 24 hours after oiling to ensure the oil has fully set. |
| Using harsh chemicals to clean the board | Harsh chemicals can strip away the protective finish and damage the wood, making it more prone to cracking and splintering. | Use a mild soap and water solution to clean the board. Avoid using abrasive cleaners or excessive water. |
Bamboo Cutting Boards
Common Questions
What is the best way to cut the bamboo planks for a cutting board?
How do I ensure the board is smooth and splinter-free?
Can I use a router to add decorative patterns to the board?
How often should I oil my bamboo cutting board?
References
- A CASE STUDY AMONG THE KARBI TRIBES OF ASSAM (INDIA (academia.edu)
- Efficacy of Cleaning and Sanitizing Methods in Reducing ... (ag.purdue.edu)
- Maximizing Carbon Negativity in Next Generation Bamboo Framing ... (arpa-e.energy.gov)
- Bambu Case Study_Draft21723sm (biopreferred.gov)
Cite this guide
DIY Wooden Kitchen Towel Bars (2026). Bamboo Cutting Boards. https://towelsmith.com/bamboo-cutting-boards/
Feel free to cite or share this guide.