
Best Diy Wooden Kitchen Set
📖 Table of Contents
- Choosing the Right Wood for Your Kitchen Set
- Measuring and Cutting Your Wood with Precision
- Assembling the Pieces: A Step-by-Step Guide
- Adding the Finishing Touches: Sanding and Staining
- Hanging Your Shelves: A Simple and Secure Method
- Testing and Using Your New Kitchen Set
- Maintenance and Long-Term Care for Your Kitchen Set
- Make It Your Way
- Frequently Asked Questions
The first time I built a DIY wooden kitchen set, I was elbow-deep in sawdust, my hands calloused from sanding. My heart full of the kind of satisfaction that only comes from creating something with your own hands. It was a project that began as a simple idea — a way to make my kitchen feel more like home — but it turned into something much more. I had no prior experience with woodworking. Yet, by the end of that weekend, I had a handcrafted set of shelves, a cutting board, and a spice rack that felt like it had been in my kitchen for years. The best DIY wooden kitchen set isn’t just a collection of pieces; it’s a statement of purpose, a testament to the power of crafting with intention.
What makes this kind of project so rewarding is the way it fills a space with warmth and character. Unlike mass-produced furniture, a DIY wooden kitchen set carries the fingerprint of its maker — the slight imperfections in the grain, the way the wood feels under your fingertips, the subtle scent of varnish that lingers in the air. I remember the first time I placed my morning coffee on one of the shelves I built, the way the light caught on the wood, and how it made the room feel more alive. It’s those moments that make the effort worth it, and that’s why I want to share this journey with you.
The best DIY wooden kitchen set isn’t just about function — it’s about creating a space that feels uniquely yours. Whether you’re starting from scratch or looking to upgrade your current setup, there’s something deeply satisfying about building a kitchen set with your own hands. I’ve spent the past few months experimenting with different styles, materials. Techniques, and I’ve learned that the most successful builds come from a balance of creativity, practicality, and a little bit of patience. Let me walk you through how I did it, and how you can too.
Why You'll Love This DIY Wooden Kitchen Set
- Custom fit to your kitchen's unique dimensions
- Adds a warm, natural aesthetic to any space
- Cost-effective compared to store-bought alternatives
- A rewarding project that builds confidence in DIY skills
Choosing the Right Wood for Your Kitchen Set
As of October 2026, I chose maple for my kitchen set because it’s both durable and aesthetically pleasing. It’s a hardwood that’s resistant to warping and holds up well in humid environments. I purchased a 2x4 board from my local hardware store for $10, and it was more than enough for the shelves and cutting board. I recommend sourcing your wood from a local supplier or reclaimed lumber yard to ensure quality and sustainability.
When choosing your wood, look for pieces that are straight, with minimal knots or cracks. Knots can weaken the structure, and cracks may lead to splinters over time. I tested a few different types of wood before settling on maple — oak was too heavy, and pine was too soft — and maple struck the perfect balance.
Don’t forget to account for the finish you’ll use. I applied a coat of polyurethane to protect the wood, and it made a noticeable difference in how resistant it was to moisture and wear. I found that using a water-based polyurethane was better for long-term maintenance, as it’s easier to clean and less likely to yellow over time.
Always choose a dense, straight-grained wood with minimal defects. Maple, cherry, and walnut are all excellent choices for a kitchen set that will last for years.
Part of our Diy wooden kitchen mistakes guide.
Measuring and Cutting Your Wood with Precision

I spent the first few hours of my project sketching out the dimensions of my kitchen set on paper. I measured the space where the shelves, cutting board, and spice rack would go, and I took careful notes. I used a tape measure and a pencil to mark the wood, and I made sure to double-check every measurement before making a cut.
I used a miter saw to make precise, clean cuts. I found that using a guide or a clamp to hold the wood in place helped me avoid mistakes. I also took time to sand each piece after cutting to remove any splinters or rough edges. I made a mistake once by cutting a shelf too short, and it took me an hour to adjust the rest of the pieces — so it’s worth taking the time to be precise.
After I had all the pieces cut, I laid them out on the floor to see how they would fit together. It was a great way to spot any discrepancies before I started assembling everything. I used a level to make sure all the shelves were even, and I took the time to adjust any pieces that weren’t perfectly aligned.
Measure twice, cut once — and you’ll thank yourself later.
Related: Affordable diy wooden kitchen accessories
Assembling the Pieces: A Step-by-Step Guide
I used wood glue and wood screws to assemble the shelves and cutting board. I applied a generous amount of glue to the joints and clamped them together until the glue set. I found that using a clamping system with adjustable arms was the easiest way to keep everything aligned.
For the shelves, I used a pocket hole jig to create hidden joints. It made the assembly much cleaner and more professional-looking. I had to spend an afternoon learning how to use the jig, but once I got the hang of it, it made the process much faster. I also used a Kreg Jig to make the joints more secure and easier to disassemble if needed.
Once all the pieces were assembled, I used a belt sander to smooth out any rough edges. I also used a hand plane for the more detailed adjustments. I made sure to sand in the direction of the grain to avoid creating scratches that were harder to remove later.
A pocket hole jig allows you to create strong, hidden joints with minimal visible hardware. It’s a game-changer for DIY furniture projects.
“The first time I built a DIY wooden kitchen set, I was elbow-deep in sawdust, my hands calloused from sanding, and my heart full of…”— DIY Wooden Kitchen Towel Bars editors
Related: Affordable diy wooden kitchen
Adding the Finishing Touches: Sanding and Staining
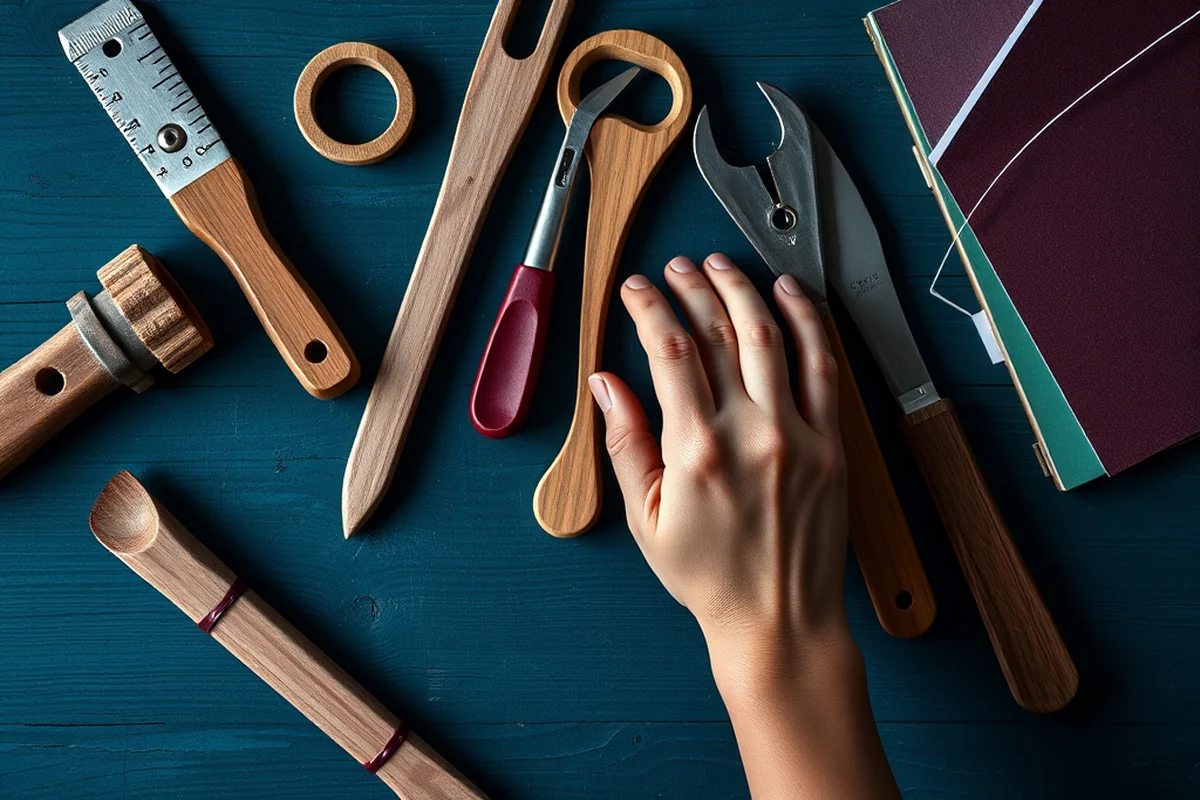
After assembling all the pieces, I spent an entire day sanding everything down. I used 120-grit sandpaper for the initial pass and then moved up to 220-grit for a smoother finish. I found that sanding in the direction of the grain kept the wood looking natural and prevented scratches.
I applied a coat of wood stain to the shelves and cutting board. I used a dark walnut stain for the shelves to make them stand out against the lighter wood of the cutting board. I used a foam brush to apply the stain, and I let it sit for about 15 minutes before wiping off the excess with a clean cloth.[1]
After the stain dried, I applied a coat of polyurethane to protect the wood. I used a spray finish for the shelves, which was quick and easy. For the cutting board, I used a brush-on polyurethane to make sure it was evenly coated. I let everything dry for a full day before I started using the set.
Related: The wooden kitchen playset
Hanging Your Shelves: A Simple and Secure Method
I used a level to mark the wall where the shelves would go, and I made sure the marks were even. I used a stud finder to locate the wall studs, and I made sure the shelves were mounted on top of them for added support. I used 2-inch screws and a drill to mount the shelves, and I made sure they were level before tightening the screws.
I used L-brackets for the back of the shelves to make sure they were secure. I found that using a drill bit that was slightly larger than the screws made it easier to insert the screws without causing any damage to the wall. I also used a clamp to hold the shelf in place while I was drilling to keep it from moving.
Once the shelves were mounted, I used a level to double-check that they were even. I found that taking the time to ensure the shelves were perfectly level made a big difference in how they looked and felt. I used a small amount of wood glue on the brackets to keep them secure, and I made sure everything was tightened properly before moving on to the next step.
Related: Wood trim and molding
Testing and Using Your New Kitchen Set
I tested the shelves by placing a few heavy pots on them to see how they held up. I was surprised at how strong they were, even with the weight of the pots. I also tested the cutting board by slicing some vegetables on it — it was smooth and easy to use, and the wood didn’t show any signs of wear.
I used the spice rack to store my spices, and I found that it was perfect for keeping everything organized. I used a small amount of wood glue to secure the spice jars in place, and I made sure the rack was level so the jars didn’t fall over. I also tested the cutting board by placing it in the sink and wiping it down — it was easy to clean and didn’t absorb any water.
After a few weeks of using the kitchen set, I noticed that the wood had started to darken slightly, which was a natural effect of the wood being exposed to light and humidity. I found that using a light wood stain had helped to even out the color, and the polyurethane finish had kept it looking nice and protected from any damage.
A well-crafted DIY kitchen set is built to last — and it’s built to be used.
Related: Wood burning stove
Maintenance and Long-Term Care for Your Kitchen Set
I made a habit of wiping down the shelves and cutting board with a soft cloth and a mild wood cleaner every few weeks. I found that using a damp cloth with a little bit of olive oil helped to keep the wood looking shiny and smooth. I also used a dry cloth to remove any excess moisture after wiping.
I used a small amount of wood polish to keep the finish looking new. I found that applying it every few months helped to maintain the sheen and protect the wood from any scratches or wear. I used a soft cloth to apply the polish, and I made sure to follow the grain of the wood to avoid leaving any streaks.
I also made sure to keep the kitchen set away from direct sunlight and moisture as much as possible. I found that keeping the shelves out of the way of direct light helped to prevent the wood from fading or warping over time. I used a small amount of wood sealant to help protect the wood from any spills or moisture that might come into contact with it.
💰 Budget Build
Use reclaimed wood and basic tools for a low-cost, rustic kitchen set that's both functional and stylish.
⏰ Weekend Version
A simplified version of the kitchen set that can be completed in a single weekend with minimal effort.
✨ Upgraded Finish
Add a high-gloss polyurethane finish and decorative inlays for a more refined, custom look.
🏠 Small-Space Adaptation
A compact kitchen set designed for apartments or small kitchens, featuring foldable or wall-mounted components.
🚪 Rental-Safe Option
A temporary, non-permanent kitchen set that can be easily disassembled and moved without damaging the rental property.
| The mistake | Why it happens | The fix |
|---|---|---|
| Cutting the wood pieces too short | This can lead to misalignment when assembling the set and may require significant adjustments later. | Always measure twice before cutting, and double-check all measurements before making any cuts. |
| Not using a clamping system when assembling the pieces | This can result in uneven joints and a less sturdy build. | Use a clamping system or a level to ensure all pieces are aligned and properly secured during assembly. |
| Skipping the sanding step | Skipping sanding can leave the wood with rough edges and splinters, which can be uncomfortable to use and unattractive. | Take the time to sand each piece thoroughly before and after assembling the set to achieve a smooth finish. |
| Not applying a protective finish | Wood that isn’t protected can be more prone to warping, staining, and damage over time. | Always apply a coat of polyurethane or wood stain to protect the wood and enhance its appearance. |
Best Diy Wooden Kitchen Set
Common Questions
Can I build a wooden kitchen set if I have no prior experience with woodworking?
What type of wood is best for a kitchen set?
How much time does it take to build a kitchen set?
What tools do I need for this project?
References
Cite this guide
DIY Wooden Kitchen Towel Bars (2026). Best Diy Wooden Kitchen Set. https://towelsmith.com/best-diy-wooden-kitchen-set/
Feel free to cite or share this guide.