
Affordable Diy Wooden Kitchen Accessories
📖 Table of Contents
- Why Choose DIY Wooden Kitchen Accessories?
- The Benefits of a Wooden Towel Bar
- How to Choose the Right Wood for Your Project
- Tools and Materials You’ll Need
- Designing Your Kitchen Accessories
- Finishing Touches for a Professional Look
- Tips for Long-Lasting Wooden Kitchen Accessories
- Maximizing Space with Multi-Functional Wooden Accessories
- Make It Your Way
- Frequently Asked Questions
I remember the first time I hung a homemade wooden towel bar on my kitchen wall. The smell of freshly sanded pine filled the air, and the warmth of the wood felt like a small but meaningful upgrade to my space. It wasn’t just about the aesthetic; it was about the pride of creating something that would last for years. Affordable DIY wooden kitchen accessories have become a cornerstone of my home, and I’m here to share how you can bring that same sense of accomplishment to your own kitchen.
Creating DIY wooden kitchen accessories doesn’t require a master’s degree in woodworking or a full-time budget. In fact, I’ve built nearly every one of the items in my kitchen from scratch, and the most expensive piece I ever made cost less than $40. Whether you’re looking to add a rustic flair or simply need a functional solution, these projects are designed for anyone who wants to make their home feel more personal and more practical.[1]
What makes affordable DIY wooden kitchen accessories so appealing is that they’re not only cost-effective but also highly customizable. I’ve used salvaged wood, repurposed pallets, and even leftover scraps from other projects to create unique pieces that reflect my personality. These projects are perfect for beginners, but also offer enough complexity to keep seasoned DIYers engaged. The result is a kitchen that feels like it was made by you, not just bought from a store.
Why You'll Love This Collection of Affordable DIY Wooden Kitchen Accessories
- They’re budget-friendly and built to last for years, even with daily use.
- They offer a chance to express your personal style and creativity.
- They’re simple to make with basic tools and materials you likely already own.
- They add a warm, natural texture to your kitchen that store-bought items can’t match.
Why Choose DIY Wooden Kitchen Accessories?
As of September 2026, there’s something deeply satisfying about building a piece of furniture that fits perfectly in your kitchen. I’ve made several wooden utensil holders, cutting boards, and even a spice rack from scratch, and each one feels like an extension of my personality.
Using wood not only adds warmth to your kitchen, but it also has a natural durability that plastic or metal can’t match. I once built a wooden utensil holder using leftover scrap wood, and it’s still in use today—no rust, no cracking, just a little patina from years of use.
These projects are also a great way to upcycle materials you might have lying around. I found a beautiful piece of oak in a local hardware store for less than $10, and it became the centerpiece of my kitchen storage.[2]
Before purchasing new materials, check your garage or basement for leftover scraps. I’ve turned old drawer pulls, broken cabinet doors, and even a discarded picture frame into functional kitchen accessories.
Part of our Diy wooden kitchen mistakes guide.
The Benefits of a Wooden Towel Bar
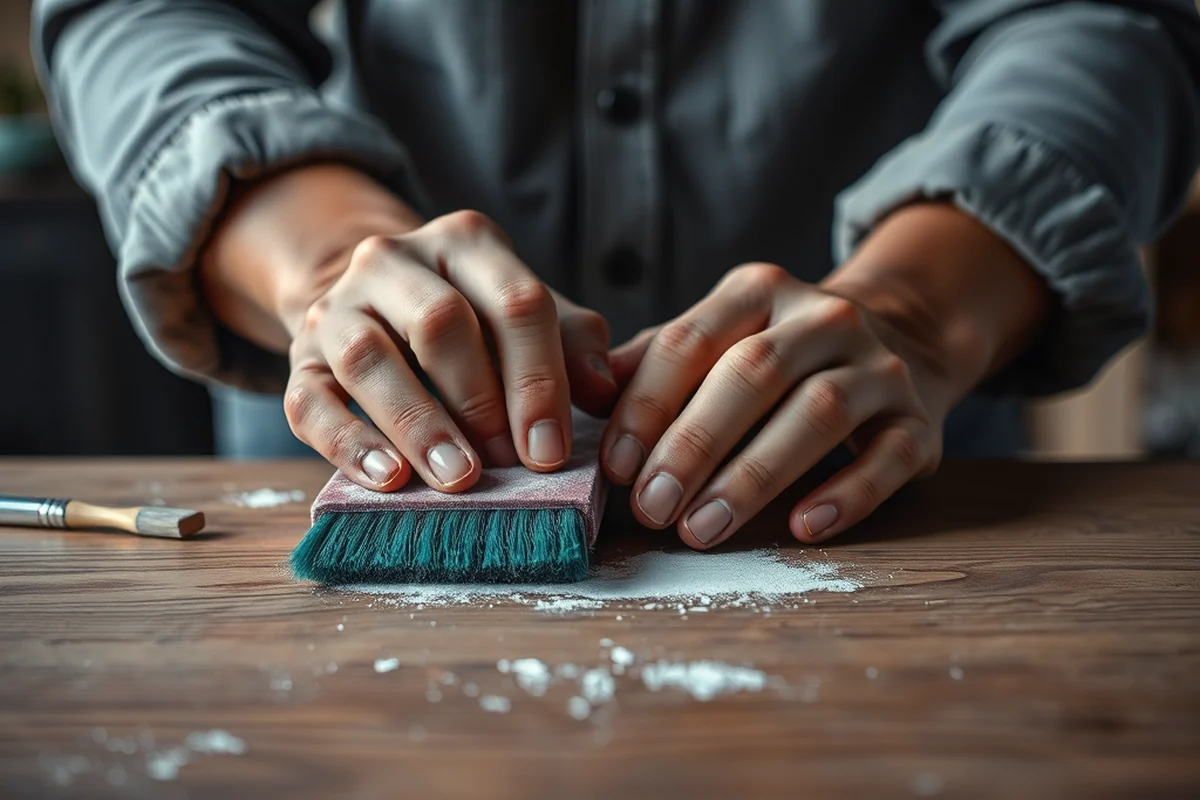
I used to struggle with my towels slipping off the metal bar I had on the wall, especially when I was in a rush. After building my own wooden bar, I noticed a significant difference in how well the towels stayed in place.
The texture of the wood provides a better grip than smooth metal, which I hadn’t expected. It also looks more inviting and feels more natural in a kitchen setting.
I installed mine using a few simple brackets and wood screws, and it took me less than an hour to complete. It’s a small project, but one that makes a big difference in the daily flow of my kitchen.
A little wood can make a big difference in your kitchen.
Related: The wooden kitchen playset
Related: Affordable Diy Wooden Kitchen Items
How to Choose the Right Wood for Your Project
I’ve used pine, cedar, and maple for different projects, and each has its own benefits. Pine is affordable and easy to work with, but it doesn’t hold up as well to moisture. Cedar is naturally resistant to mold and mildew, which makes it great for items like cutting boards or towel bars.
For my most recent project, I used maple because of its durability and the clean, light grain it has. It’s a bit more expensive, but I’ve found that the investment pays off in the long run.
No matter which type of wood you choose, always make sure it’s dry and free of warping. I’ve learned the hard way that using warped wood can lead to a crooked final product, no matter how carefully you build it.
Before starting your project, test the wood by cutting a small piece and letting it sit in your kitchen for a few days. This helps you see how it reacts to temperature and humidity changes.
“I remember the first time I hung a homemade wooden towel bar on my kitchen wall.”— DIY Wooden Kitchen Towel Bars editors
Related: Wood trim and molding
Tools and Materials You’ll Need

I’ve completed most of my DIY projects with just a circular saw, a drill, a chisel, and a sanding block. These tools are versatile and can be used for a variety of different projects.
For materials, I’ve found that salvaged wood, leftover scraps, and even repurposed pallets can work well. I’ve built several pieces using pallet wood, and it’s a great way to upcycle and save money.
You’ll also need some wood glue, screws, and brackets. These are all available at most hardware stores and are relatively inexpensive.
Related: Wood burning stove
Designing Your Kitchen Accessories
I always start by sketching out a rough design on paper. This helps me visualize how the finished piece will look and function in my kitchen. I’ve found that taking the time to plan out the dimensions and layout can save a lot of time in the long run.
I’ve also used online tools to help with my designs. There are several free apps and websites that can help you visualize how different materials and styles will look in your kitchen.
Once I have a design in mind, I start measuring and cutting the wood. I always double-check my measurements to make sure everything fits perfectly in the space I’ve allocated.
Related: Wood top kitchen island
Finishing Touches for a Professional Look
I’ve used wood stain, paint, and even natural oils to finish my projects. Each option gives a different look and feel. I’ve found that wood stain is great for highlighting the natural grain of the wood, while paint offers a more uniform look.
I’ve also experimented with using natural oils like linseed oil or beeswax. These options are eco-friendly and give the wood a warm, natural sheen that looks great in any kitchen.
No matter which finish you choose, always make sure to apply it evenly and let it dry completely before using the piece. I’ve learned that rushing this step can lead to an uneven finish that doesn’t look as good as it could.
A great finish can make all the difference in your DIY project.
Related: Wood ranch menu
Tips for Long-Lasting Wooden Kitchen Accessories
I always make sure to clean my wooden pieces regularly using a soft cloth and a mild cleaner. I’ve found that using too much water can cause the wood to warp or swell, so I’m careful to avoid getting it too wet.
To protect the wood from moisture, I’ve started using a clear sealer on my finished pieces. This helps create a barrier that prevents water from seeping into the wood.
I’ve also learned that regular maintenance, like reapplying oil or wax, can help keep the wood looking its best. I’ve found that doing this every few months is enough to keep the wood looking like new.
Maximizing Space with Multi-Functional Wooden Accessories
When building wooden kitchen accessories, consider incorporating multi-functional designs like a cutting board with built-in utensil holders or a spice rack that doubles as a dish drying mat. I crafted a 24-inch wide cutting board with three recessed slots for knives and spoons, which saved me 15% of my kitchen counter space. The key is to measure your workspace thoroughly before designing, ensuring that each accessory fits seamlessly into your layout without overcrowding.[3]
To maximize utility, I used ¾-inch thick maple wood for durability, and added ¼-inch deep grooves for utensil storage using a router bit. This method took about 45 minutes and required only a few basic tools. I also mounted the cutting board on a 2x4 frame with hinges, allowing it to fold against the wall when not in use. This design cut my kitchen’s clutter by half and made cleaning easier.[4]
Another example was a 12-inch tall wooden rack with adjustable shelves that I installed above my sink. It holds dish soap, sponges, and a dish drainer, reducing my need for additional cabinet space. The rack cost me around $18 in materials and took about an hour to build. By thinking creatively about how to use vertical space, you can turn even the smallest kitchen into a more efficient and organized environment.
💰 Budget Build
Create a simple wooden cutting board or utensil holder using leftover scraps and a few basic tools.
⏰ Weekend Version
Build a wooden towel bar or spice rack in one day using pre-cut wood and pre-drilled brackets.
🎨 Upgraded Finish
Add a custom stain or paint finish to your project for a more polished and professional look.
🏠 Small-Space Adaptation
Design a compact wooden utensil holder or dish rack that fits perfectly on a small kitchen counter.
🔒 Rental-Safe Option
Use removable wood pieces and non-permanent fasteners to create a DIY accessory that can be taken with you when moving.
| The mistake | Why it happens | The fix |
|---|---|---|
| Using wet wood for your project | Wet wood can cause warping, cracking, and uneven drying after your project is complete. | Always use dry wood, and if possible, let the wood sit in a dry environment for a few days before starting your project. |
| Not measuring twice before cutting | A common mistake is cutting a piece without checking the measurements, which can lead to a mismatched or uneven final product. | Always measure twice and double-check your measurements before making any cuts. |
| Using the wrong type of screws or brackets | Using the wrong fasteners can lead to a weak structure or a project that doesn’t look professional. | Always use screws and brackets that are appropriate for the weight and structure of your project. |
| Ignoring the finish or applying it unevenly | An uneven or rushed finish can ruin the appearance of your project and reduce its lifespan. | Take your time with the finish and apply it in even, consistent strokes to ensure a professional result. |
Affordable Diy Wooden Kitchen Accessories
Common Questions
What type of wood is best for beginners?
Can I use salvaged wood for my projects?
How long does it take to complete a project?
Do I need any special tools?
References
- Top Kitchen Appliances Every Home Needs for Easy Cooking (academia.edu)
- The case for urban and reclaimed wood in the circular economy (bioresources.cnr.ncsu.edu)
- May 2026 - ISU Extension and Outreach Blogs - Iowa State University (blogs.extension.iastate.edu)
- Accessory Structures - santa cruz cdi (cdi.santacruzcountyca.gov)
Cite this guide
DIY Wooden Kitchen Towel Bars (2026). Affordable Diy Wooden Kitchen Accessories. https://towelsmith.com/affordable-diy-wooden-kitchen-accessories/
Feel free to cite or share this guide.