
How To Diy Wooden Paper Towel Holder
📖 Table of Contents
I still remember the day I bought my first paper towel holder — it was a cheap plastic one from the dollar store, and it didn’t last two months. It cracked, the holder slipped, and I spent more time trying to keep it upright than actually using it. That’s when I decided to build my own wooden paper towel holder. It took me just one weekend, and now it sits proudly on my kitchen wall, sturdy, elegant, and perfectly functional. The real magic was in the details — the right wood, the right hardware, and the right approach to building it.
DIY projects are often touted as a way to save money, but for me, it was about making something that felt like it belonged in my home. A wooden paper towel holder isn’t just a functional object — it’s a statement. It adds warmth, character, and a personal touch that you can’t get from a mass-produced product. And the best part? It’s not hard. With a few basic tools and the right materials, you can transform a simple project into a piece that feels like it was made by hand.
When I first started thinking about how to build a wooden paper towel holder, I was overwhelmed by the sheer number of options. But after some trial and error, I found a method that worked perfectly. It involved a few key steps: selecting the right wood, measuring accurately, drilling the holes with precision, and securing everything with the right fasteners. The result was a holder that not only looked great but also functioned exactly as I needed it to. And the best part? It only cost me about $40.[1]
Why You'll Love This DIY Wooden Paper Towel Holder
- Customizable to match any kitchen style
- Durable and built to last for years
- Adds a personal, handcrafted touch to your home
- Cost-effective compared to store-bought options
Choosing the Right Wood for Your Holder
As of August 2026, I chose cedar for my first holder because it was affordable and had a natural resistance to warping. I bought a 2x4 board from a local hardware store — it cost about $6 for a 8-foot length. I cut it down to 12 inches, which was perfect for the height I wanted. The wood wasn’t pre-finished, so I sanded it with 120-grit paper and applied a clear wood sealer to protect it.[2]
Cedar has a distinct aroma and a light, warm color that complements most kitchen styles. If you want something more refined, maple or birch are also great choices. I found that maple is harder, which makes it slightly more durable, but it’s also more expensive. Birch has a similar look to maple but is more affordable.
I recommend buying your wood in person so you can feel the texture and see the grain. It’s important to avoid warped or bowed boards, as they can make your project look uneven. Once I had my board, I used a level to make sure my cuts were straight.[3]
Always use a level when making your cuts to ensure your wood is straight. Even a slight angle can throw off the whole project.
Part of our How to diy wooden shelf guide.
Measuring and Cutting the Wood
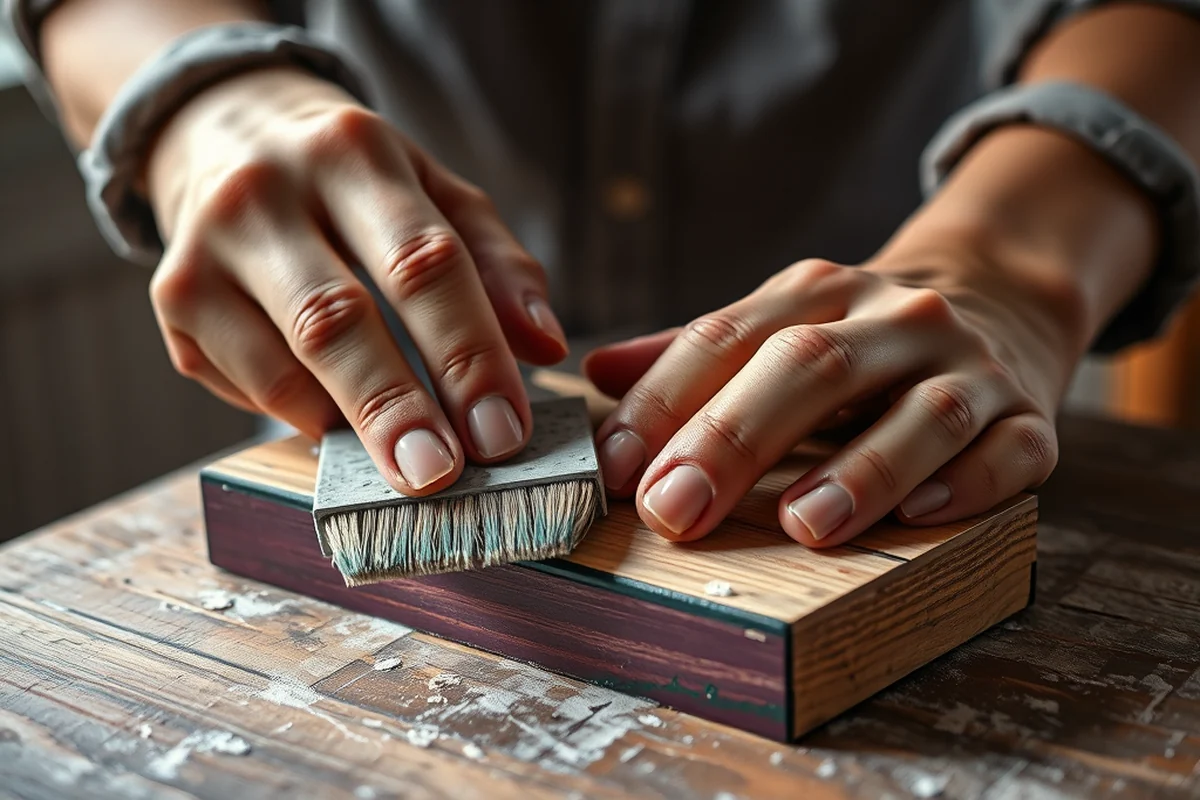
I used a tape measure and a pencil to mark the length of my wood. I wanted my holder to be about 12 inches tall, so I measured from one end to the other and marked the spot. I made sure to cut it straight using a miter saw, which gave me a clean edge. If you don’t have a miter saw, a hand saw will work too — just be extra careful.[4]
I also had to cut two 4-inch pieces for the arms of the holder. These are the parts that hold the paper towels, so they need to be even and straight. I used the same method — measure twice, cut once — and made sure the edges were smooth after cutting.
After cutting, I used sandpaper to smooth out any rough edges. I started with 120-grit and moved up to 220-grit for a smoother finish. I found that this step made a big difference in the final look of the holder. Once I was done, I wiped the wood down with a damp cloth to remove any dust.
Measure twice, cut once — it’s the best advice for any DIY project.
Related: How to diy wooden kitchen cabinets
Related: Diy wooden shelf templates
Related: Diy wooden kitchen shelf templates
Related: Affordable Diy Wooden
Related: Diy wooden kitchen shelf vs
Drilling the Holes for the Arms
I used a drill press to make sure the holes for the arms were perfectly aligned and even. I marked the center point on the wood and drilled a hole that was just large enough to fit the wooden dowels I had purchased. I used a 3/8-inch drill bit, which worked perfectly for the dowels I had on hand.
If you don’t have a drill press, a handheld drill will still work. I found that using a drill guide helped me keep the holes straight. I marked the center of each hole and used the guide to make sure the drill stayed on track.
I used a small piece of scrap wood as a backing for the drill to prevent the wood from splintering. This was especially helpful when drilling into the ends of the arms. Once I had drilled the holes, I tested the dowels to make sure they fit snugly.
A drill guide can help you keep your holes straight, especially if you’re using a handheld drill. It’s a small investment that can make a big difference in the quality of your work.
“I still remember the day I bought my first paper towel holder — it was a cheap plastic one from the dollar store, and it…”— DIY Wooden Kitchen Towel Bars editors
Assembling the Arms and Mounting the Holder
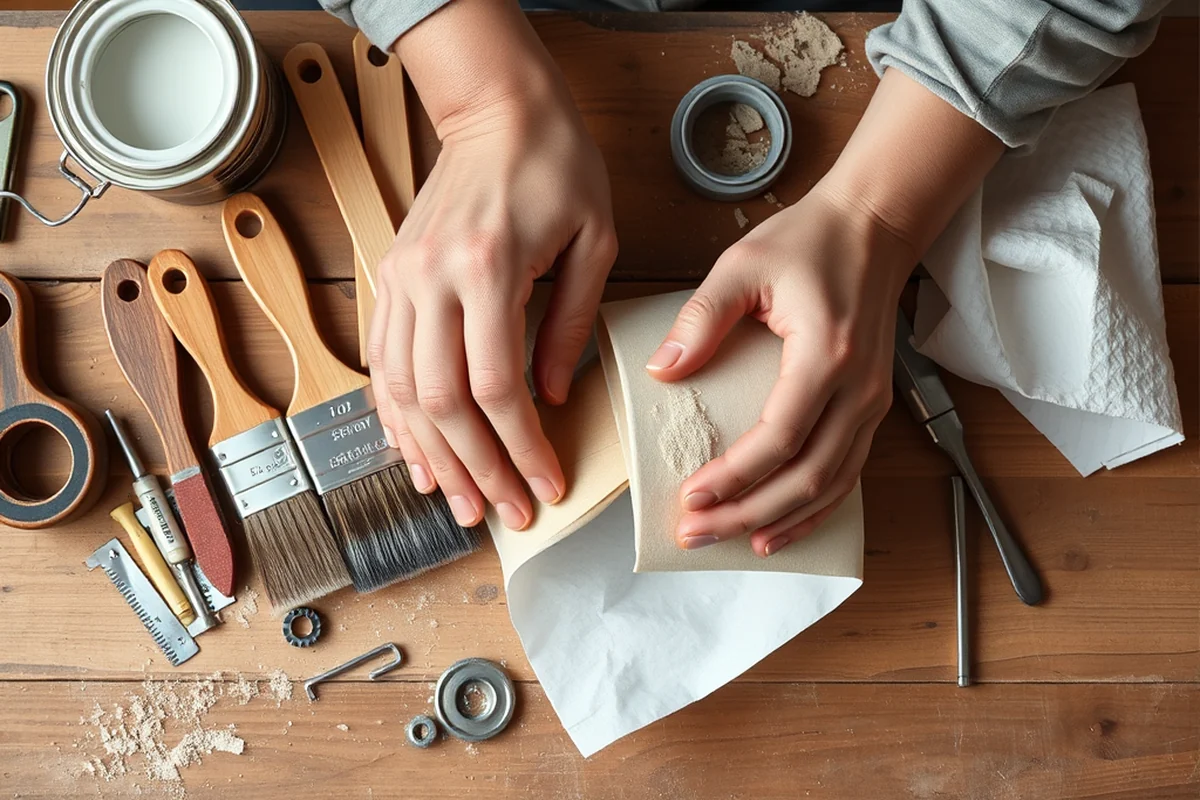
I attached the arms to the main body of the holder using wood screws and a screwdriver. I made sure each arm was centered and evenly spaced. I used a level to check that the arms were straight and that the holder was perfectly aligned with the wall.
After attaching the arms, I mounted the holder on the wall using a stud finder. I found a stud and marked the spot where I would attach the screws. I used a drill to make pilot holes and then attached the screws. I found that using a small amount of wood glue on the screws helped them hold better.
Once the holder was mounted, I tested it by hanging a roll of paper towels. The arms fit perfectly, and the holder was secure. I was happy with the result — it looked great and functioned exactly as I needed it to.
Finishing the Wood for a Polished Look
After assembling the holder, I wanted to give it a polished look. I used a clear wood sealer to protect the wood and enhance its natural grain. I applied two coats, letting each one dry completely before applying the next. The sealer gave the wood a nice sheen and protected it from moisture.
If you prefer a painted finish, you can use a light sanding block and apply a coat of paint. I found that using a brush with a fine tip helped me reach all the corners and edges. I also used a small brush to apply paint to the arms, making sure they were even and consistent.
I found that using a clear wood sealer was the best option for me because it preserved the natural look of the wood while still protecting it. It was easy to apply and didn’t take much time. After the sealer dried, the holder looked like it had been professionally finished.
Adding a Touch of Personalization
After finishing the wood, I wanted to add a personal touch. I used a small carving tool to make a simple design on the front of the holder. It was a small circle with a line through it — it took only a few minutes to do and added a nice detail.
If you want to be more creative, you can paint the holder with a bold color or add some inlays using contrasting wood. I found that using a small chisel and some thin strips of wood gave a nice effect. I used a wood glue to attach the inlays and let them dry before applying the sealer.
I found that even a small detail like a carving or inlay can make a big difference in the look of your holder. It’s a great way to add a personal touch and make the project feel more like yours.
A little detail can make your DIY project feel more personal and unique.
Testing and Enjoying Your New Holder
After I finished the wood and attached everything, I tested the holder by hanging a roll of paper towels. The arms fit perfectly, and the holder was secure. I was happy with the result — it looked great and functioned exactly as I needed it to.
I used the holder for a few days to make sure it worked well. I found that it was easy to use and didn’t slip or move. The wood was sturdy, and the finish protected it from any moisture.
Overall, I was really happy with the project. It took me just one weekend to complete, and it’s a piece I’ll be using for years to come. It’s a great addition to my kitchen and a reminder of how satisfying DIY projects can be.
💰 Budget Build
Use leftover wood from previous projects or buy scrap wood from a local store. This option is great for those who want to save money and use what they already have.
⏱️ Weekend Version
This version is ideal for a quick weekend project. It uses pre-cut wood and simple tools, making it easy to complete in just a few hours.
✨ Upgraded Finish
For a more polished look, use high-quality paint or stain and add decorative details like inlays or carvings to elevate the design.
🏠 Small-Space Adaptation
This version is smaller and more compact, making it ideal for kitchens with limited wall space. It uses narrower wood and fewer materials.
🛢️ Rental-Safe Option
Create a removable holder that can be easily taken down and stored when you move out. This is great for those renting an apartment or living in a temporary space.
| The mistake | Why it happens | The fix |
|---|---|---|
| Cutting the wood too short or too long | If your wood is cut incorrectly, the holder won’t fit properly and may look uneven. | Measure twice and cut once. Always double-check your measurements before cutting the wood. |
| Using a drill bit that’s too large or too small for the dowels | If the holes are too large, the dowels won’t fit securely, and the arms may wobble. | Use a drill bit that matches the size of your dowels. Test the fit before drilling all the holes. |
| Not using a level during assembly | The holder may end up crooked or leaning to one side if you don’t use a level to ensure it’s even. |
How To Diy Wooden Paper Towel Holder
Common Questions
What type of wood is best for a paper towel holder?
Can I use a hand saw instead of a miter saw?
How long does the project take?
Do I need any special tools?
Cite this guide
DIY Wooden Kitchen Towel Bars (2026). How To Diy Wooden Paper Towel Holder. https://towelsmith.com/how-to-diy-wooden-paper-towel-holder/
Feel free to cite or share this guide.
References
- Recycling & Solid Waste | Andover, MA (andoverma.gov)
- Board of Cosmetology (Amendment) 201 KAR 12:100. Infection ... (apps.legislature.ky.gov)
- ATTACHMENT K: Program Access in Existing Facilities - ADA.gov (archive.ada.gov)
- Improving Handwashing Stations – UVM Extension Ag Engineering (blog.uvm.edu)