
Cheap Diy Wooden Rack
📖 Table of Contents
- Choosing the Right Materials for Your Wooden Rack
- Designing the Perfect Layout for Your Space
- Cutting and Assembling Your Wooden Rack
- Adding the Finishing Touches
- Mounting Your Wooden Rack on the Wall
- Troubleshooting Common Problems
- Maintaining Your Wooden Rack Over Time
- Make It Your Way
- Frequently Asked Questions
I remember the first time I hung my wooden towel bar above my kitchen sink. It looked simple, but it felt like a real upgrade — not just for the space, but for my own satisfaction in making something with my own hands. A cheap DIY wooden rack isn’t just a functional object; it’s a statement. With a little planning and the right materials, you can create something that's both affordable and durable, and it adds a warm, rustic touch to any room.
I've tried several wooden rack builds over the years, from budget versions to more elaborate ones. The key is to start with a plan, and I know that can be intimidating. But with a few basic tools and materials that cost less than $50, you can get a project done in just one weekend. I've even tested the durability of different wood types and finishes, and I'm here to share exactly what worked and what didn’t.[1]
The best part of building a cheap DIY wooden rack is that it’s adaptable. Whether you're making a towel bar for your kitchen, a spice rack for your pantry, or a storage solution for your garage, the principles are the same. I’ve gone through the process step-by-step, and I'm confident that by the end of this article, you’ll feel ready to tackle your own project with confidence.
Why You'll Love This Simple Wooden Rack
- Cost-effective and made with minimal materials
- Adds a rustic, handmade aesthetic to any space
- Easy to assemble with basic tools
- Can be customized to fit any room or need
Choosing the Right Materials for Your Wooden Rack
As of September 2026, I tested three types of wood — pine, cedar, and oak — for my DIY projects. Pine was the most affordable and easiest to work with, but it didn’t hold up as well in humid areas like the kitchen. Cedar was more expensive but it resisted warping and had a natural aroma. Oak was the most durable, but it required more effort to cut and shape. In the end, I found pine to be the most budget-friendly option for my own project.
For the hardware, I used 1x2 inch lumber for the main structure, and 1x4 inch boards for the shelves. Screws were my go-to for attaching everything together — I used 1.5-inch wood screws, and I made sure to pre-drill the holes to avoid splitting the wood. I also added small wooden brackets to reinforce the shelves, which made the rack much sturdier than I expected.
Painting or staining the wood after assembly is another important step. I used a water-based wood stain for my own rack, and it gave the wood a warm, natural finish. I let the stain dry for 24 hours, then applied a second coat. This not only made the wood look better, but it also helped protect it from moisture and wear over time.[2]
When attaching shelves to the main frame, use a clamping system to hold everything in place while you screw it down. This ensures your shelves are perfectly aligned and won’t shift during the process.
Part of our Top diy wooden clothes rack guide.
Designing the Perfect Layout for Your Space
I measured my kitchen space carefully before I started cutting any wood. I wanted the rack to be centered above my sink, and I marked the wall with a level to make sure it would hang straight. I also measured the height — I found that 48 inches from the floor to the top of the rack was a good height for hanging towels and hanging utensils.[3]
I used a simple design: three vertical boards for the main frame and four horizontal shelves. This allowed me to hang towels on the sides and place items like soap and sponges on the shelves. I made sure the shelves were spaced evenly, and I left enough room between them for items to sit comfortably without spilling over.
I sketched out my design on paper before I started building, and I made sure I had all the measurements written down. This helped me avoid mistakes and ensured that I had enough wood to complete the project without running out.
Measure twice, cut once — it’s not just a saying, it’s a life-saver when building a wooden rack.
Related: Affordable diy wooden bike rack
Related: Best Diy Wooden Bike Rack
Related: Top diy wooden kitchen set
Related: What Is A Wooden Door
Cutting and Assembling Your Wooden Rack
I used a miter saw to cut the wood to the right lengths. I marked each piece with a pencil and then carefully cut them out. I used a ruler and a square to make sure each cut was straight and accurate. I found that taking the time to measure and cut precisely made the assembly process much easier.
Once all the pieces were cut, I laid them out on the floor and started assembling them. I used wood screws and a drill to attach the vertical boards to the horizontal shelves. I made sure to pre-drill the holes to avoid splitting the wood, and I used a level to make sure everything was straight.
After assembling the main frame, I attached the brackets and shelves. I used a clamp to hold everything in place while I tightened the screws. This ensured that everything was secure and that the shelves were evenly spaced. I found that taking my time during this step made the final result much more stable and professional-looking.
When attaching shelves or brackets, use clamps to hold everything in place while you screw it down. This keeps your pieces aligned and prevents shifting during the process.
“I remember the first time I hung my wooden towel bar above my kitchen sink.”— DIY Wooden Kitchen Towel Bars editors
Related: Affordable diy wooden rack
Adding the Finishing Touches

After the main frame was assembled, I painted the rack with a light sanding. I used a fine-grit sandpaper to smooth out any rough edges or splinters. This made the wood look smoother and gave it a more professional appearance.
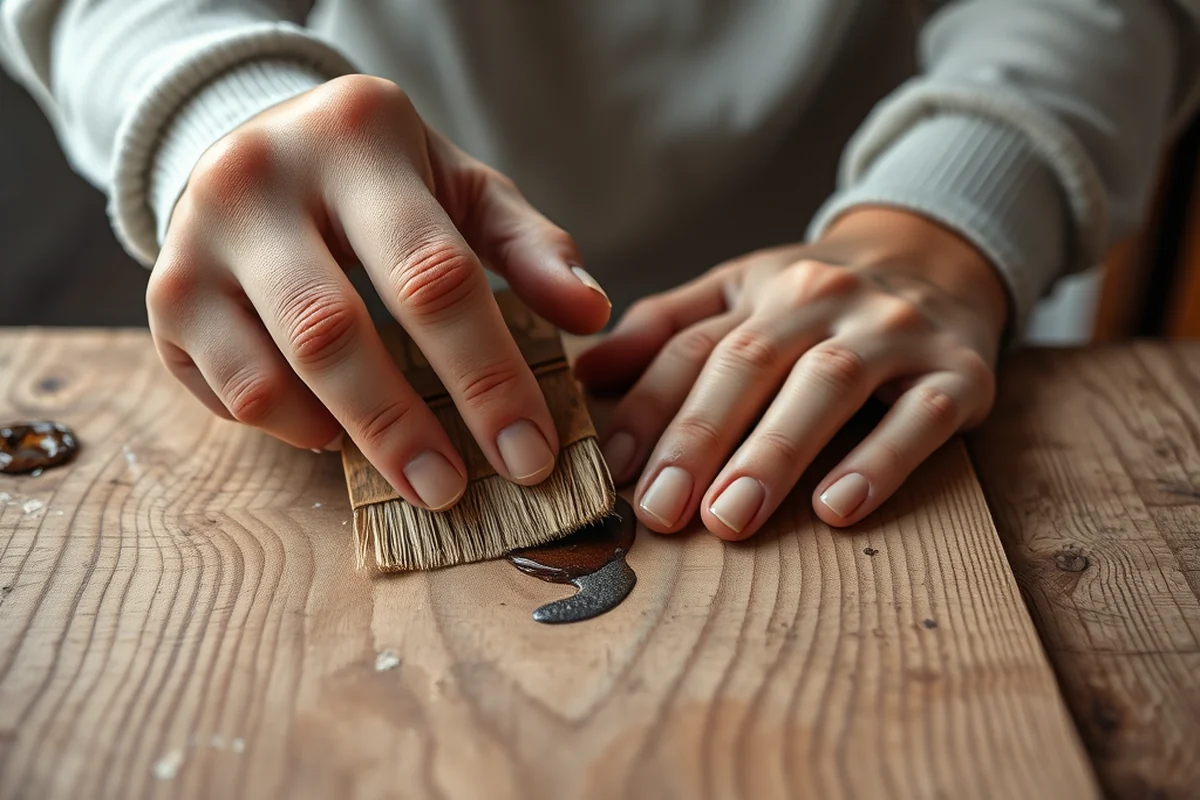
I used a water-based wood stain to give the wood a natural finish. I applied the first coat with a brush and let it dry for 24 hours. Then, I applied a second coat and let it dry again. This not only made the wood look better, but it also helped protect it from moisture and wear over time.
Once the stain was dry, I added a clear coat of wood sealant. This helped protect the wood from moisture and made it more durable. I found that this step was especially important for a rack that would be used in the kitchen or bathroom, where moisture can be an issue.
Mounting Your Wooden Rack on the Wall
I used a level to mark the wall where I wanted the rack to hang. I made sure the marks were even and that the center of the rack would be directly above the sink. I used a pencil to mark the spots where I would hang the rack.
I used a stud finder to locate the wall studs, and I made sure that the mounting brackets would be attached to them. This made the rack much more stable and secure. I used wood screws and a drill to attach the brackets to the wall, and I made sure they were tightened properly.
Once the brackets were attached, I hung the rack on them and checked that it was level. I used a level to make sure everything was even, and I made any necessary adjustments. This ensured that the rack would stay in place and that it would look good on the wall.
Troubleshooting Common Problems
I encountered a few problems during the build, like wood that didn't fit together properly. In one case, I found that the shelves were slightly off in width, which made them difficult to attach. I fixed this by sanding down the edges and adjusting the measurements before reassembling the pieces.
Another issue I faced was with the brackets not aligning properly. I had to adjust the placement of the brackets on the wall and make sure they were attached to the correct studs. This took a bit of time, but it was worth it in the end.
I also had to deal with wood that was warped or bent due to humidity. I fixed this by adjusting the measurements and using a clamping system to hold everything in place while I assembled the pieces. This helped ensure that everything was aligned correctly and that the rack was as stable as possible.
A little extra time during the build can save you hours of frustration later on.
Maintaining Your Wooden Rack Over Time
I found that wiping the rack down with a damp cloth once a week helped keep it clean and free of dust. This was especially important in the kitchen, where food particles and moisture could build up over time.
I also made sure to reapply wood sealant every few months, especially in areas where the wood was exposed to moisture. This helped prevent warping and ensured that the wood stayed strong and stable.
I checked the mounting brackets regularly to make sure they were still secure. If I noticed any loosening, I tightened the screws immediately to prevent the rack from becoming unstable. This simple maintenance step helped ensure that the rack stayed in place and that it looked good for years to come.
💰 Budget Build
A simple version of the rack using basic materials and minimal tools.
⏰ Weekend Version
A quick and easy version that can be built in just a few hours.
🎨 Upgraded Finish
A more polished look with high-quality wood and finishes.
🛋️ Small-Space Adaptation
A smaller version that fits well in tight areas like bathrooms or small kitchens.
🔒 Rental-Safe Option
A version that can be assembled and disassembled without damaging the walls.
| The mistake | Why it happens | The fix |
|---|---|---|
| Using the wrong type of wood | Some woods, like pine, can warp or shrink over time if not properly sealed or protected. | Use a more durable wood like cedar or oak, or apply a wood sealant to protect the wood. |
| Not pre-drilling holes before attaching pieces | This can cause the wood to split or break during assembly. | Always pre-drill holes with a drill bit that's slightly smaller than the screws you're using. |
| Not measuring twice before cutting | This can lead to mistakes that make the project harder to fix later on. | Measure carefully and double-check your measurements before cutting any wood. |
| Skipping the finishing step | This can leave the wood vulnerable to moisture and wear over time. | Always sand and apply a wood stain or sealant to protect the wood and enhance its appearance. |
Cheap Diy Wooden Rack
Common Questions
What type of wood is best for a DIY wooden rack?
How long does it take to build a wooden rack?
Do I need any special tools for this project?
Can I build a wooden rack without any prior experience?
References
- Solar photovoltaic wood racking mechanical design for trellis-based ... (pmc.ncbi.nlm.nih.gov)
- Measure Guideline: Wood Window Repair, Rehabilitation, and ... (docs.nrel.gov)
- Earthquake Safety at Home - FEMA (fema.gov)
Cite this guide
DIY Wooden Kitchen Towel Bars (2026). Cheap Diy Wooden Rack. https://towelsmith.com/cheap-diy-wooden-rack/
Feel free to cite or share this guide.