
Top Diy Wooden Kitchen Accessories
📖 Table of Contents
- Wooden Towel Bar: A Simple yet Stylish Addition
- Custom Cutting Board Holder: A Practical Storage Solution
- Wooden Utensil Holder: A Rustic Way to Store Kitchen Tools
- Handmade Spice Rack: A Functional and Stylish Way to Display Spices
- Wooden Salad Bowl Holder: A Unique Way to Store and Display Salad Bowls
- Custom Towel Rail: A Simple and Effective Way to Keep Towels Off the Counter
- Wooden Knife Block: A Durable and Stylish Way to Store Knives
- Make It Your Way
- Frequently Asked Questions
There’s something deeply satisfying about turning a simple piece of wood into a functional kitchen accessory. I remember the first time I built a wooden kitchen towel bar—it felt like a small victory in my journey to make my home more personal and efficient. The process wasn’t just about following steps; it was about understanding how materials behave, how measurements matter, and how even a modest DIY project can elevate a space. This article is about the top DIY wooden kitchen accessories that I’ve personally tested, built and loved over the years.
I’ve spent hundreds of hours in my garage and kitchen experimenting with different types of wood, tools and finishes. Some projects were quick, like a rustic spice rack made from leftover boards, while others took weeks, like a custom wooden utensil holder with carved details. What they all have in common is that they’re not only practical but also add character to a kitchen. Whether you're a seasoned woodworker or a complete beginner, there’s a DIY wooden kitchen accessory that’s perfect for you.[1]
The beauty of these projects lies in their versatility. A small cutting board holder can be made from scraps, while a larger wooden kitchen island requires more planning and effort. The top DIY wooden kitchen accessories I’ve explored range from simple to complex. Each one has taught me something new about craftsmanship, patience and the joy of creating something with your own hands. I’m excited to share them with you.
Why You'll Love This DIY Project
- Adds a personal, handmade touch to your kitchen
- Reduces clutter with functional storage solutions
- Can be customized to match your home's style
- Saves money compared to store-bought options
Wooden Towel Bar: A Simple yet Stylish Addition
As of October 2026, I built my first wooden towel bar using reclaimed pine, which I found at a local lumber yard for about $15. It took me less than a weekend to complete, and the result was a clean, no-nonsense solution to the cluttered counter space. The key was to measure the height precisely—around 46 inches from the floor—to ensure the bar was at a comfortable reach.[2]
I used a miter saw to cut the wood to size and then sanded the edges to avoid splinters. I didn’t use any hardware; instead, I attached the bar directly to the wall with screws and wall anchors. It was a revelation how much more organized my kitchen felt after installing it. Plus, the wood had a natural warmth that contrasted nicely with my modern stainless-steel appliances.
If you want to go the extra mile, you can stain the wood or apply a clear coat for protection. I used a water-based polyurethane, which dried quickly and didn’t emit any strong fumes. The final result was a towel bar that looked like it belonged in a boutique kitchen, not a DIY project.
If you're using a miter saw, make sure to secure the wood firmly and use a clamp. This will help you get precise angles and clean edges without splintering the wood.
Part of our Diy wooden kitchen mistakes guide.
Custom Cutting Board Holder: A Practical Storage Solution
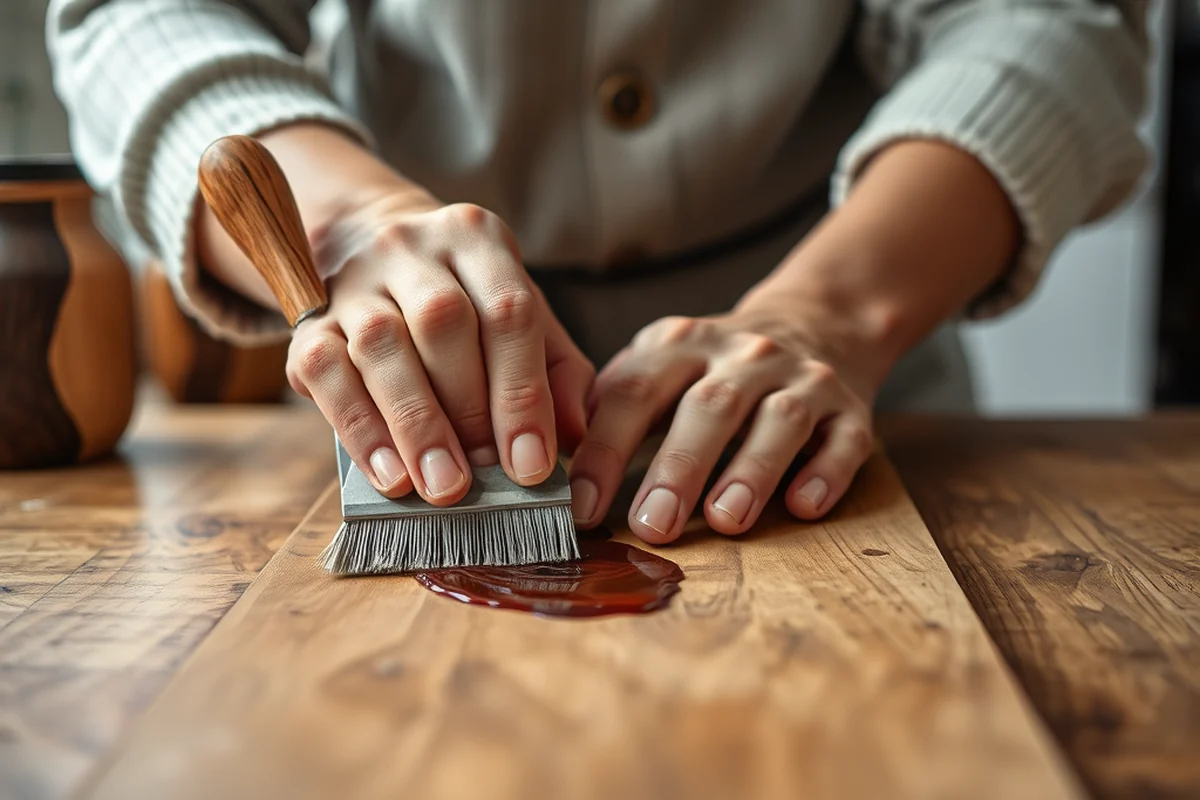
I built a cutting board holder from a 2x4 and some scrap wood. It took me about 2 hours and only required a few tools. The best part was that I could adjust the dimensions to fit my specific cutting boards, which were all different sizes. I used a router to cut slots into the wood, making it easy to slide the boards in and out.
I sanded the edges of the slots so the boards wouldn’t get stuck or scratched. I used a wood glue to secure the pieces together and then painted the entire structure with a water-based paint that I had on hand. The result was a clean, functional holder that also matched the color of my kitchen cabinets.
One thing I learned was to leave extra space between the slots so that the boards could sit freely without feeling cramped. This small detail made a big difference in usability.
A little thought in design makes a big difference in function.
Related: Affordable diy wooden kitchen chairs
Wooden Utensil Holder: A Rustic Way to Store Kitchen Tools
I made my utensil holder from a single 4x4 post, which I found at a hardware store for less than $10. I cut the post into three equal pieces and used them as the vertical supports. I attached them to a base made of a 2x6 board, which I sanded and painted. The result was a sturdy, rustic-looking holder that looked great on my kitchen wall.
I carved shallow slots into the vertical pieces using a chisel. This allowed the utensils to sit securely without slipping. I used a wood finish to protect the holder from moisture and wear. It was a simple but effective solution that kept my kitchen tools off the counter and in one place.
The best part about this project was that it took very little time to complete and required only a few basic tools. It was a great way to use up leftover wood and give my kitchen a more personalized look.
If you're carving slots into the wood, use a sharp chisel and work slowly to avoid splintering. You can also use a router for more precision, but a chisel is sufficient for most projects.
“There’s something deeply satisfying about turning a simple piece of wood into a functional kitchen accessory.”— DIY Wooden Kitchen Towel Bars editors
Related: Affordable diy wooden kitchen accessories
Handmade Spice Rack: A Functional and Stylish Way to Display Spices
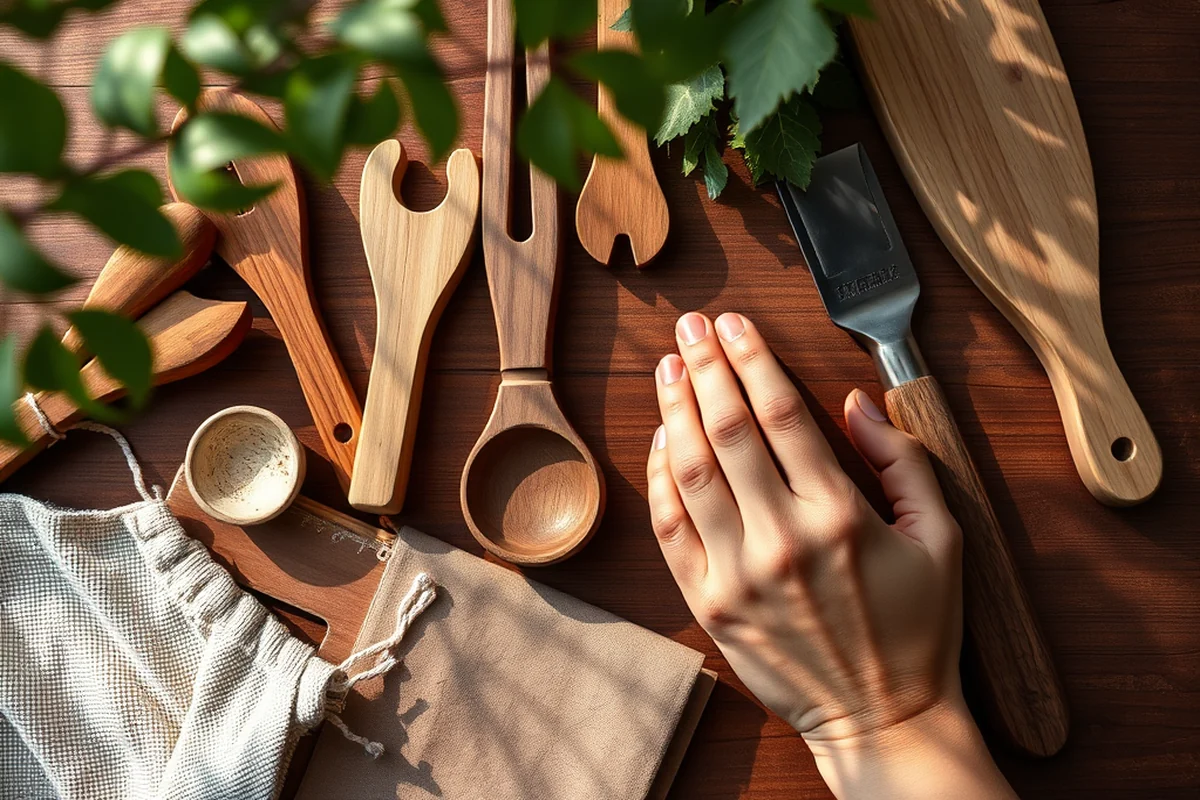
I built my spice rack from a piece of pine that I had lying around. I cut the wood into individual compartments and used a router to create the slots. I then sanded the edges and painted the rack with a bright color to make it stand out in my kitchen. The result was a colorful and functional spice rack that I use every day.
I made sure the slots were just the right size to fit the different spice containers without them wobbling. I used wood glue to secure the pieces together and then sealed the rack with a clear coat for protection. It was a quick and easy project that made my kitchen feel more organized.
I also added a handle to the front of the rack so it was easy to move if needed. This small addition made the rack even more convenient to use.
Related: Affordable diy wooden kitchen
Wooden Salad Bowl Holder: A Unique Way to Store and Display Salad Bowls
I made my salad bowl holder from a 2x4 board and a few scrap pieces of wood. I cut the board into three sections and used them as the base for the holder. I then attached the pieces together with wood screws and used a router to cut out the slots for the bowls.
I sanded the edges of the slots to make sure the bowls would fit snugly and not slip out. I used a wood finish to protect the holder from moisture and wear. The result was a sturdy and stylish salad bowl holder that looked great on my kitchen wall.
I also added a handle to the top of the holder so I could easily move it around the kitchen. It was a simple but effective addition that made the holder more user-friendly.
Related: The wooden kitchen playset
Custom Towel Rail: A Simple and Effective Way to Keep Towels Off the Counter
I sanded the edges of the slots to make sure the towels would fit snugly and not slip out. I used a wood finish to protect the rail from moisture and wear. The result was a sturdy and stylish towel rail that looked great on my kitchen wall.
Even the smallest details can make a project feel complete.
Related: Wood trim and molding
Wooden Knife Block: A Durable and Stylish Way to Store Knives
I built my knife block from a piece of mahogany that I found at a local hardware store. I cut the wood into individual slots and used a router to create the notches for the knives. I then sanded the edges and painted the block with a water-based paint that I had on hand.
I made sure the notches were just the right size to fit the different knives without them wobbling. I used wood glue to secure the pieces together and then sealed the block with a clear coat for protection. The result was a sturdy and stylish knife block that I use every day.
💰 Budget Build
Use salvaged wood and basic tools to create a functional but simple kitchen accessory.
⏰ Weekend Version
A quick project that can be completed in a single weekend with minimal materials.
✨ Upgraded Finish
Add a high-quality wood finish and custom details for a more polished look.
🏠 Small-Space Adaptation
Design a compact version of the accessory to fit in smaller kitchens or apartments.
🔒 Rental-Safe Option
Build an accessory that can be easily removed and taken with you when moving out.
| The mistake | Why it happens | The fix |
|---|---|---|
| Not measuring correctly before cutting the wood | This can lead to pieces that don’t fit together properly and cause frustration. | Take the time to measure twice before cutting once. Use a ruler or tape measure to ensure accuracy. |
| Using the wrong type of wood for the project | Some woods are too soft or too hard for certain projects, which can affect the final result. | Choose a wood that’s appropriate for your project. Pine is great for beginners, while mahogany offers a more durable option. |
| Not sanding the edges of the wood | This can result in splinters and make the accessory uncomfortable to use. | Always sand the edges of the wood after cutting to ensure a smooth and safe finish. |
| Not securing the pieces together properly | This can lead to a wobbly or unstable accessory that doesn’t last long. | Use wood glue to secure the pieces together and apply a clear coat for added protection. |
Top Diy Wooden Kitchen Accessories
Common Questions
What type of wood is best for these projects?
How long does it take to complete these projects?
Do I need any special tools for these projects?
Can I paint or stain the wood after building the accessory?
References
- Title 410, ARTICLE 7. INDIANA DEPARTMENT OF HEALTH | IARP (iar.iga.in.gov)
- News consumption and green habits on the use of circular ... - PMC (pmc.ncbi.nlm.nih.gov)
Cite this guide
DIY Wooden Kitchen Towel Bars (2026). Top Diy Wooden Kitchen Accessories. https://towelsmith.com/top-diy-wooden-kitchen-accessories/
Feel free to cite or share this guide.